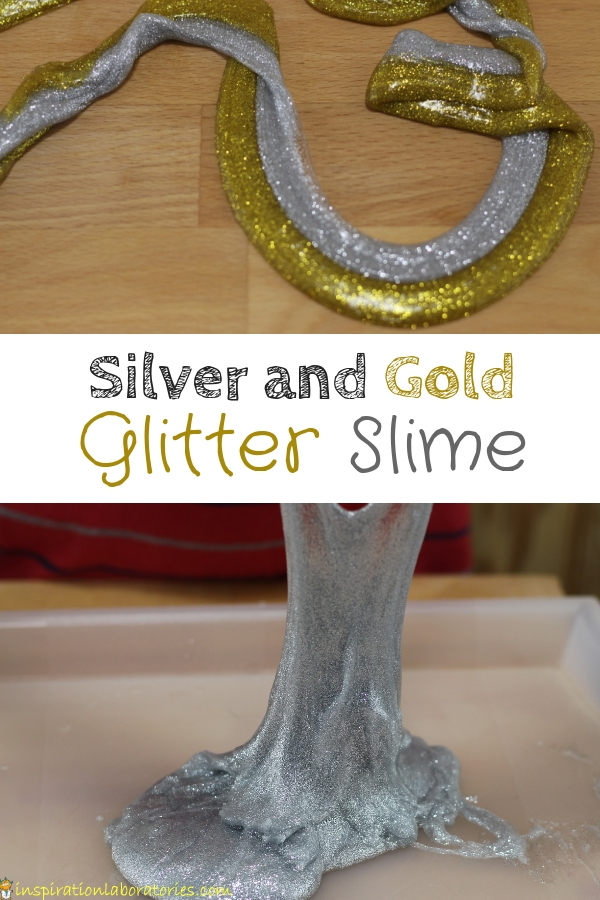
Silver and Gold Glitter Slime for New Year’s
Let’s celebrate the New Year with silver and gold glitter slime. Get the recipe and watch the video for making your own saline solution slime with glitter glue. This sparkly glitter slime is made with just 4 ingredients. I get commissions for purchases made through the affiliate links in this post.
Silver and Gold Glitter Slime for New Year’s
I always love checking out the different colors and types of Elmer’s glue. Our glow in the dark slime made with glow in the dark glue is still my favorite. My son, Aiden, saw the silver glitter glue and knew he wanted to make slime with it. We also grabbed the gold glitter glue. Sliver and gold sparkles say Happy New Year to me. How about you?
My go to slime recipe has always been combining Elmer’s glue with liquid starch. Contact lens solution slime and saline solution slime have become pretty popular because of the easy access to the ingredients around the world.
We first made contact lens solution slime with Aiden’s Cub Scout den. I was not impressed with the way the slime turned out. It was a sticky mess at first and then it was too brittle. We ended up with slime, but it wasn’t a very good texture – not like our liquid starch slime.
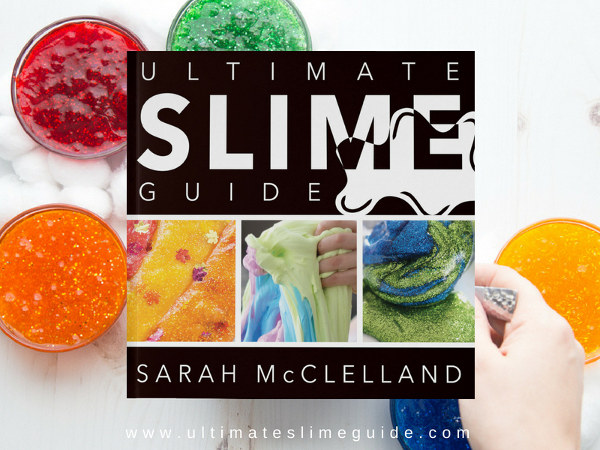
I wanted to try again as I knew some people got good results. I went to my friend Sarah’s site, Little Bins for Little Hands, to read her tips for making saline solution slime. Sarah knows a lot about making slime. She even has an ebook, The Ultimate Slime Guide (I received a free copy for review) with 4 basic slime recipes: liquid starch slime, saline solution slime, fluffy saline solution slime, and borax slime. The book also includes 70+ slime ideas and themes.
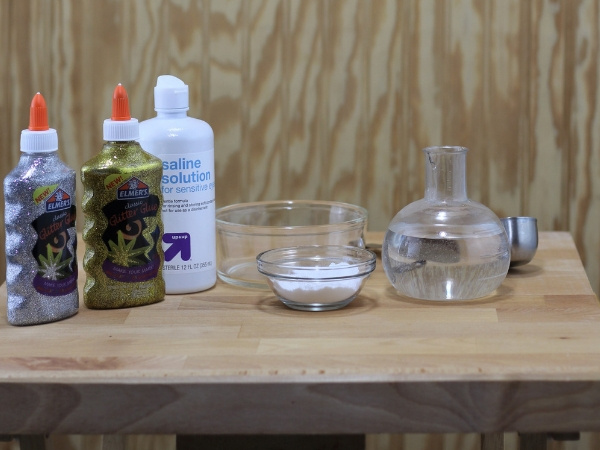
Sarah recommends using saline solution instead of contact lens solution (it costs less and contains the right slime activators). Aiden and I set out to make a saline solution slime with our silver and gold glitter glue. In addition to the saline solution and glitter glue, all you need is baking soda and water.
According to Sarah, the baking soda acts as a thickener for your slime. She recommends using 1/4 teaspoon to 1 teaspoon in the slime recipe. The amount of water you use in your slime will also change its consistency. More water causes the slime to flow more. It looks more goopy. Less water creates a thicker slime. Try different amounts of water and see which version you like best. They are all super slimy fun.
You want to make sure your saline solution contains boric acid and sodium borate. (I use Up & Up Saline Solution from Target.) These chemicals react with the PVA in the glue to create a polymer. A polymer is a long chain of similar molecules all connected together. This is what forms your slime and makes it stretchy.
Safety note: Always supervise the making and playing of slime. Once finished wash your hands to get rid of any residue (ingredients can dry skin). Slime should only be used with kids that won’t eat it. While the ingredients I use are technically non-toxic and safe for everyone to handle (assuming your not allergic), it’s not good practice to allow kids to eat slime. Too much could cause an upset stomach. The saline solution itself should also not be ingested. Seek medical attention if this occurs. Other slime recipes have different ingredients so be sure you understand the safety requirements before using those. For a taste safe version of slime, try making oobleck.
How to Make Saline Solution Slime with Elmer’s Glitter Glue
Ingredients:
- 1/2 cup of glitter glue (pretty much the entire 6 ounce bottle or as much as you can get out)
- 1/4 cup of water (or 1/2 cup of water if you want a looser slime)
- 1/2 teaspoon of baking soda
- 1 tablespoon of saline solution
Instructions:
Pour the glitter glue into your bowl. Squeeze as much out of the bottle as you can. It will be about 1/2 cup. Aiden (age 9) was in charge of making the slime. He added a 1/4 cup of water and then stirred. Experiment with the amount of water you add each time you make a different batch of slime. See which slime consistency you prefer. Aiden usually likes the thicker slimes, but the thinner slimes are fun, too.
I like to use a craft stick for stirring slime. You can just toss it away when you are done.
Once the water is completely mixed into the glitter glue, add 1/2 teaspoon of baking soda and stir.
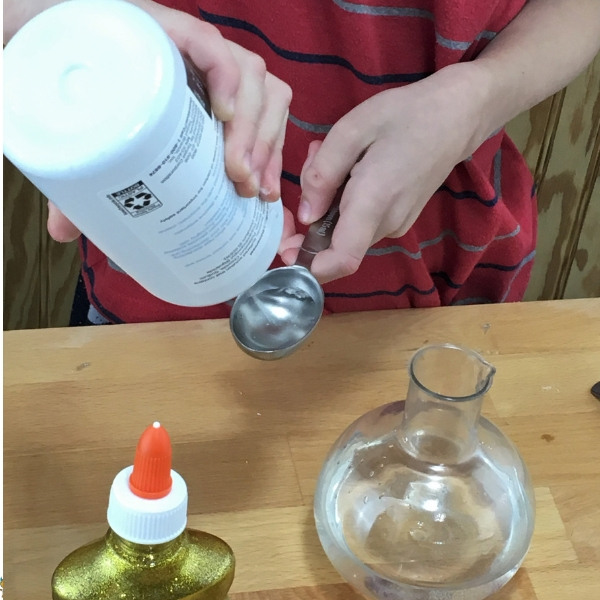
Now it’s time to add the saline solution. You’ll need about 1 tablespoon. You could start with a little less if you’re worried about your slime being too brittle. Add the saline solution and stir quickly to combine. The slime will be sticky at first. Keep stirring until it pulls away from the container.
Now the slime is ready to knead. Add a few drops of saline solution to your hands before you pick up the slime. This will keep the slime from sticking to you.
Knead the slime until its the consistency you like. If it’s still a bit sticky, add a drop or two of the saline solution and knead some more.
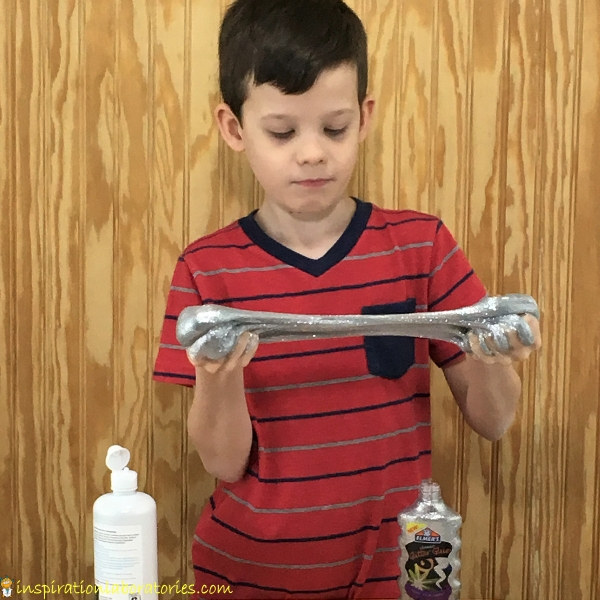
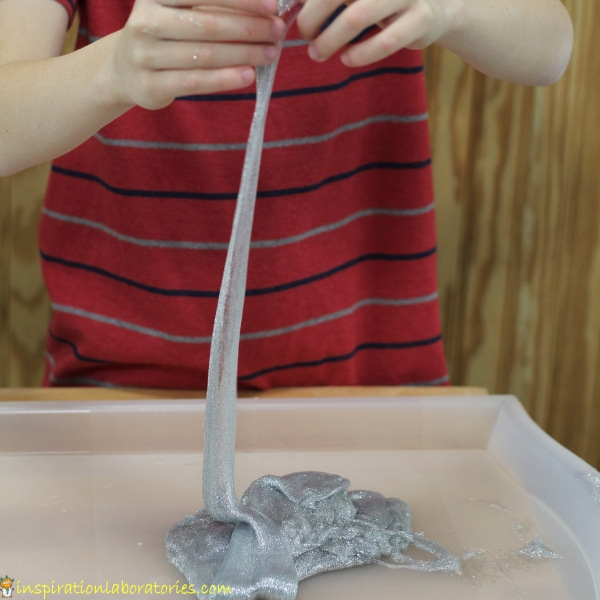
If you make the slime just right, it won’t stick to your hands. You might want to wash your hands of any remaining glue and then play with your slime. It’ll be nice and stretchy.
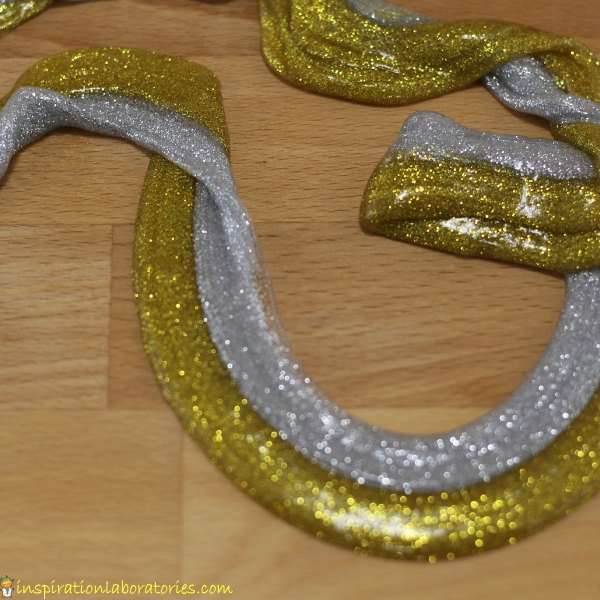
Make your second color of glitter slime the same way. Combining the sliver and gold slime makes for a new (and pretty) shade of gold slime.
More Easy Slime Recipes
You can substitute baking soda and saline solution for the liquid starch in any of the recipes below.
Do you subscribe to the Inspiration Laboratories newsletter. Each issue has exclusive hands-on science explorations for children, a recap of our latest activities, and special resources selected just for you!
Leave a Reply