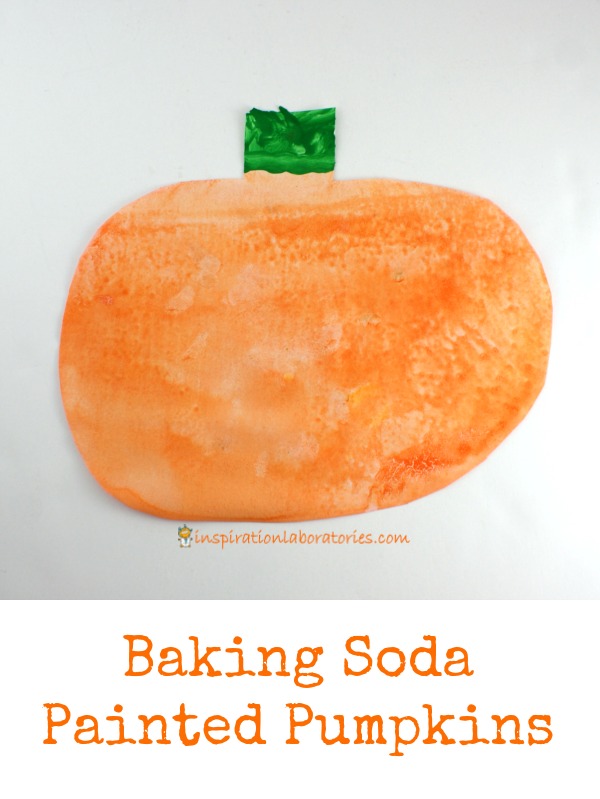
Baking Soda Painted Pumpkins
Painting with baking soda and vinegar continues to be one of our favorite ways to combine art and science. Baking soda painted pumpkins is a STEAM activity that is perfect for fall or Halloween.
Baking Soda Painted Pumpkins
Supplies You’ll Need
- white paper cut out into pumpkin shapes
- washable paint (yellow and red, or orange plus green)
- baking soda
- vinegar
- spoons
- water
- containers
- paint brushes
The Method for Fizzy Painting with Baking Soda and Vinegar
- Cover your work area. Painting can be messy!
- In one container, mix baking soda, paint, and water until you have a consistency you like. We used yellow washable tempera paint here. (You could also just use orange.)
- In a second container, add vinegar to the other paint color. Some paints don’t mix very well with vinegar, but your end product should still be fine. Some tempera paints also react with vinegar, so you might get some bubbles while mixing. We used washable liquid watercolors (red) for this reason – it mixes well with vinegar and doesn’t react.
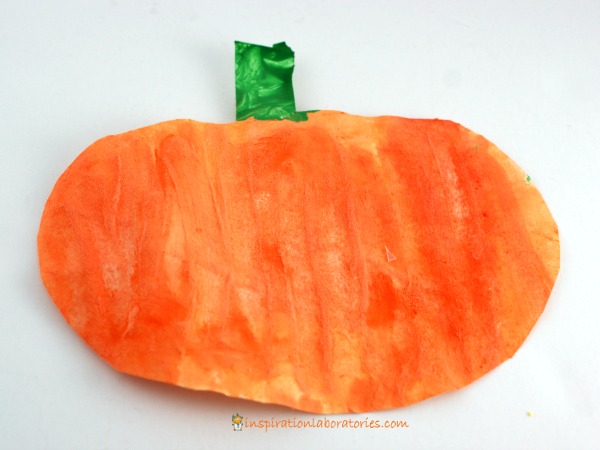
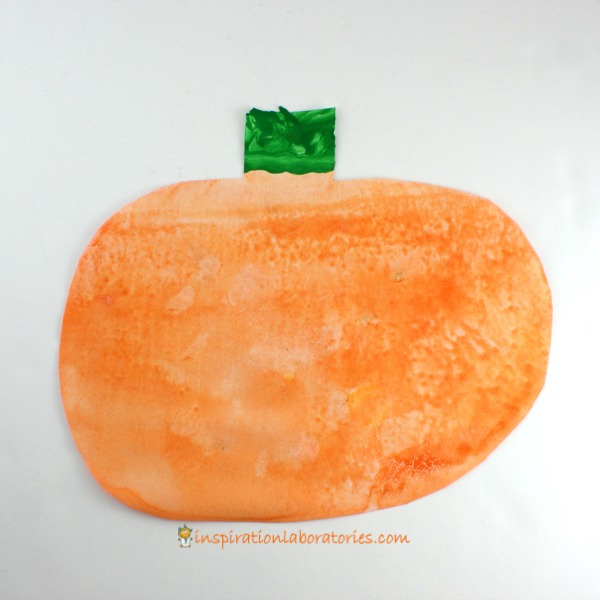
You have a few options for how you paint. You can directly paint the pumpkin-shaped paper. (It will get wet, so be aware of your work surface. Paint on top of wax paper or in a container.) My son chose to paint the entire pumpkin yellow first and then he painted it red. He mixed the red paint with the yellow and got a fizzy reaction on the pumpkin paper. He continued painting until he had the color orange he liked. He then painted the stem green.
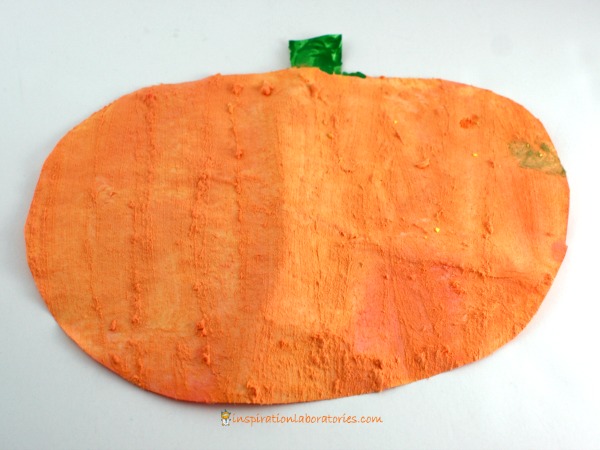
Aiden painted his second pumpkin the same way. It ended up with more baking soda on the final product. You can brush the baking soda away, but Aiden chose to leave the texture.
The second way to paint is a bit less messy. You’ll need a container larger than your paper. We use a medium sized glass baking pan. Have your child paint in the container. Aiden chose to add lots of yellow paint to the container first.
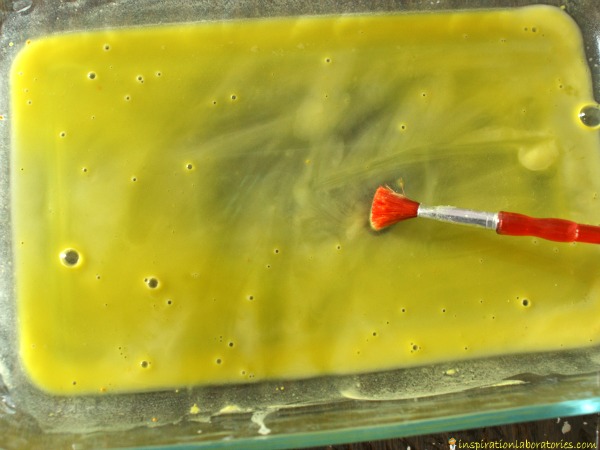
Then, he poured in some red paint. As the paints combine, you’ll see bubbles. The baking soda and vinegar react to form carbon dioxide (the bubbles), water, and a salt.
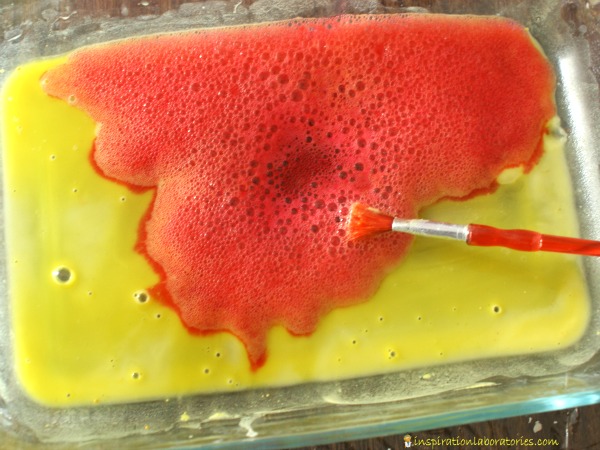
In addition to the science reaction, you can talk about the colors as they mix. When we mix yellow and red, what color do we get? Orange!
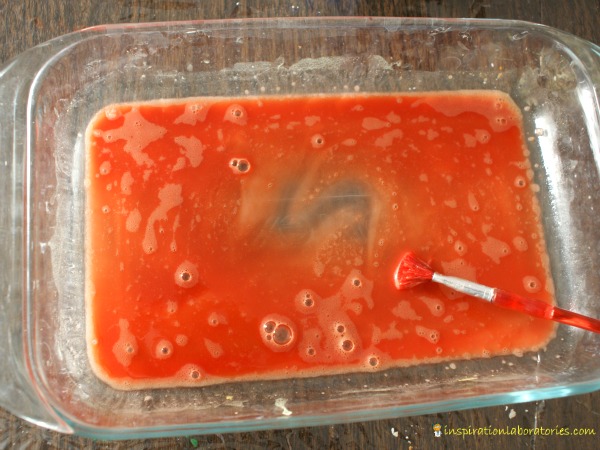
Place the paper pumpkin into the container and make a print of your painting. Allow the paper to dry. You may have a layer of baking soda on top of your finished product. If you don’t like the powdery effect, you can simply brush it off.
More Painting with Baking Soda and Vinegar
Baking Soda Painted Christmas Tree
Painting with Baking Soda and Vinegar (open-ended)
Bubble Painting for Valentine’s Day
Have you ever tried painting with baking soda and vinegar? Share a picture with us on the Inspiration Laboratories Facebook page.
Subscribe to the Inspiration Laboratories newsletter. Each issue has exclusive hands-on science explorations for children, a recap of our latest activities, and special resources selected just for you!
This post was originally published on November 10, 2015.
Leave a Reply