Melting Ice Experiment
Our countdown to Christmas continues for day 23 of Advent. I’m sharing a Christmas science idea with you at the beginning of each day until Christmas. Day 23’s activity is a Melting Ice Experiment.

Melting Ice Experiment
In our snow science experiment, we looked at which location would melt the snow first. The difference between the locations was their temperature. What if we kept the location temperatures the same – could something else effect how quickly the snow {or ice since all of our snow is gone} melted? This experiment looks at conduction. Which surfaces conduct/transfer heat more easily?
Here’s what you need:
- a variety of surfaces made of different materials
- metal {like a pot or pan}
- plastic {like a cutting board, a lid, or a bowl}
- paper {like a paper plate}
- glass {like a bowl or a cutting board}
- etc
- ice
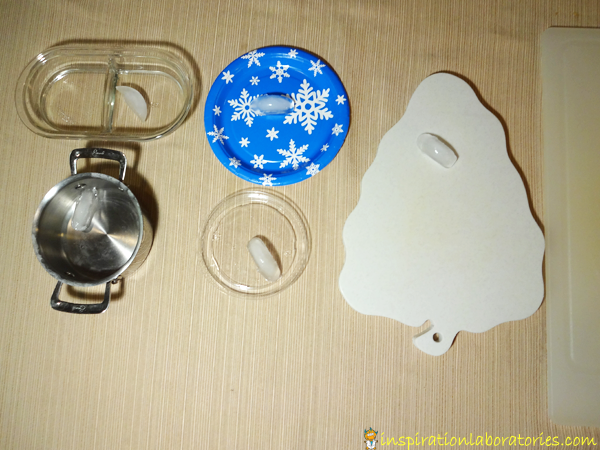
Choose a variety of surfaces for your ice to melt on. Compare metal, plastic, glass, and paper to see which makes a better conductor of heat. We used two different plastic cutting boards, a glass cutting board, a paper plate, a plastic lid, a glass bowl, and a metal pot.

Before placing the ice on the surfaces, have your child place his hand on the different materials. Which one feels the coldest? Which one feels the warmest? We used a thermometer to test the surface temperatures. They were all around room temperature {between 71 and 74°F}. The metal pot was cooler to the touch than the other surfaces.
Ask your child to make a hypothesis {a prediction} about where the ice will melt faster. On which surface will the ice melt the fastest? Do you think it’s the surface that felt the warmest? Or maybe it’s the surface that felt the coolest? Or maybe one of the other surfaces?
Add the ice cubes to the surfaces. Which ice cube begins to melt first? How long does it take? Which one melts next?
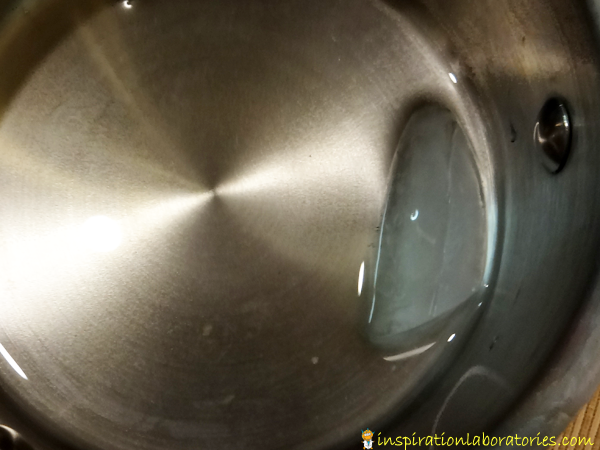
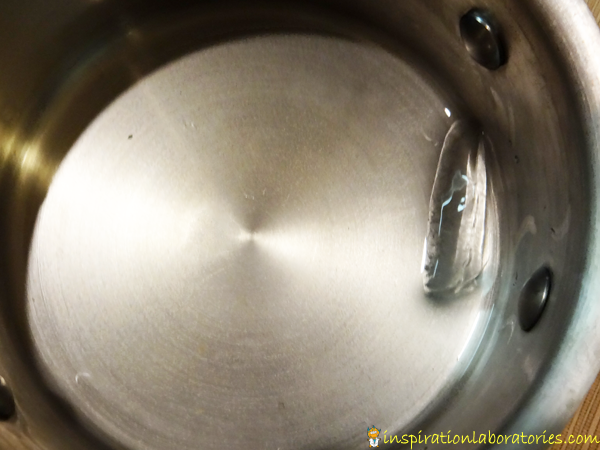
The ice cube in the metal pot was the first to melt. It happened very quickly. The other ice cubes took much longer to melt.

Our next ice cube to barely begin to melt was on the thin glass cutting board. The other ice cubes were still frozen. This is what the ice cube in the metal pot looked like.

Why did the ice in the metal pot melt first? The metal pot was the best conductor of heat. Conduction is the transfer of heat through a material {object, air, liquid}. The material itself doesn’t move. Heat moves from a high temperature material to a lower temperature material. The metal pot allowed the heat to move from the room through the pot and to the ice more easily than the other surfaces.
I’ll see you tomorrow for Day 24’s Christmas science activity.
More Christmas Activities for Kids
- Catch all of our Christmas Science Advent Calendar ideas.
- Explore pine needles and Christmas trees and take our Christmas science challenge.
- Turn your child’s art into a great Christmas project with these 15 Christmas ideas with children’s art.
- Check out all of our Christmas ideas.
Stay connected with Inspiration Laboratories so you don’t miss a thing! We’re on Twitter, Google+, Pinterest, or Facebook . You can also subscribe to my posts by e-mail.
![]()
Linking up here.

Leave a Reply