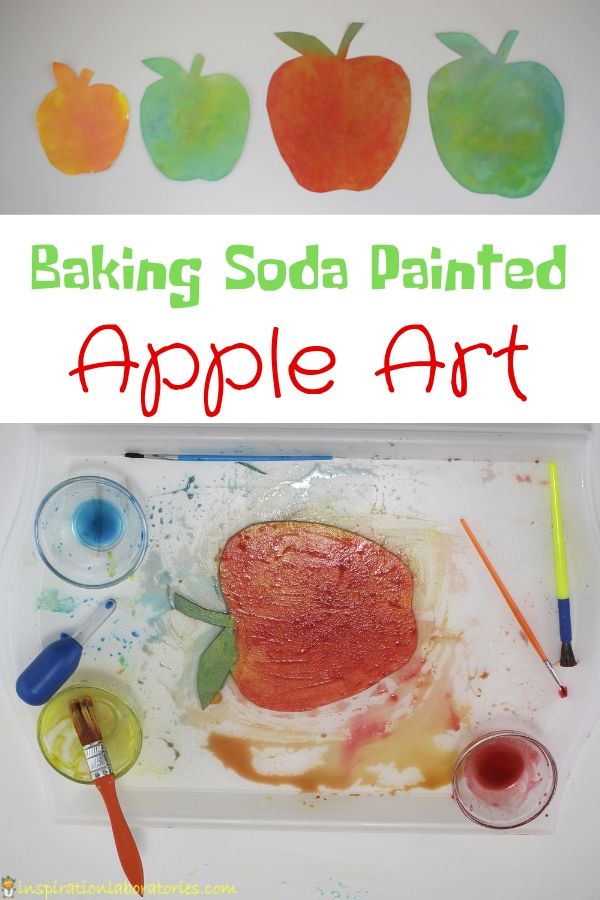
Baking Soda Painted Apple Art
It’s no secret that my kids love fizzy reactions and anything with baking soda and vinegar. One of our favorite STEAM activities combines science with art for some fizzy painting. Today we’re doing baking soda painted apple art. I get commissions for purchases made through the affiliate links in this post.
Baking Soda Painted Apple Art
We first painted with baking soda and vinegar when Aiden was only 2. He’s now 11! Over the years, we’ve experimented with the technique. (Check out all of the ways we’ve painted with baking soda at the end of this post.) Today I’m sharing the method we like best.
Supplies Needed for the Fizzy Apple Art
- Watercolor paper
- Baking soda
- Vinegar
- Washable liquid watercolors
- Paint brushes
- Dropper
- Tray or baking dish
- Bowls for paint
- Paper towels
- Drying location (tray, wax paper, freezer paper, or even a box)
How to Paint with Baking Soda and Vinegar
You’ll want to cover your work area. Have your child wear paint clothes or a smock if you’re worried about getting paint everywhere. I use washable liquid watercolors to make clean up easier.
Cut out apple shapes from the watercolor paper. Watercolor paper holds up to all of the liquid we’ll be adding. I actually used a Mix Media paper that is for watercolors, acrylic, pens, and pencils. You could use something like cardstock as well.
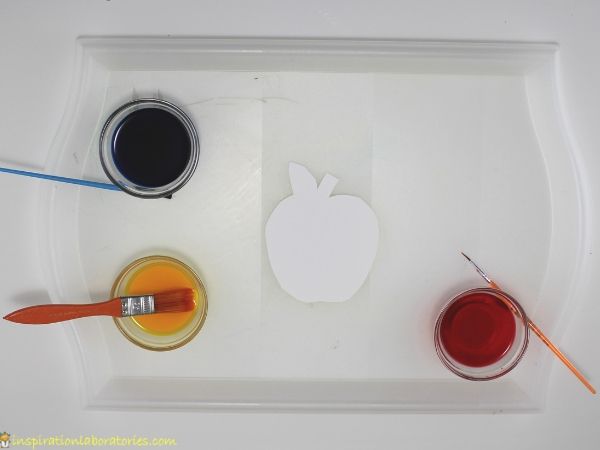
Add some baking soda to a bowl. Add a little bit of water and washable liquid watercolors until you get a mixture that is paintable. You want it to be on the thicker side. The more baking soda, the more fizzy bubbles you’ll see. I chose yellow for our baking soda paint.
To another bowl, add some vinegar and washable liquid watercolors. I used red and blue. This will allow us to learn about color mixing, too.
If you don’t have liquid watercolors, you can use tempera or acrylic paint. Not all types of paint will mix well with vinegar, but the painting activity still works and the end result is perfectly fine.
Use a large tray (mine is from IKEA) or a baking dish as your painting surface. Place the paper apple in the middle of the tray. Set your paints and brushes next to the paper. (I recommend keeping everything on the tray or in the large baking dish to help contain the mess.)
Invite your child to paint the apple. You could suggest what color to start with or just let him explore.
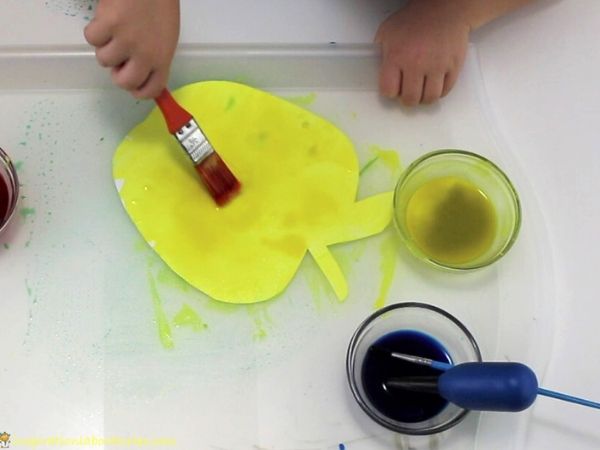
I find it usually works better if you start with the baking soda paint. (Either. way works.)
Then, paint over the baking soda paint with the vinegar paint. You’ll see fizzy bubbles form around your paint brush. A larger brush will give you more vinegar and thus more bubbles. [The baking soda and vinegar react to form carbon dioxide (the bubbles), water, and a salt.]
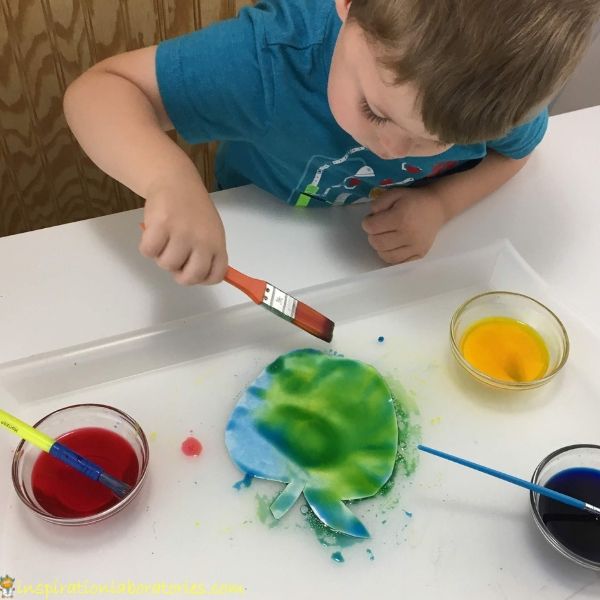
Instead of a brush, try using a dropper to add your vinegar paint to the baking soda paint. You’ll see a lot more of a fizzy reaction all at once. This method will also add a lot of liquid to your art. I used a paper towel to soak up the excess.
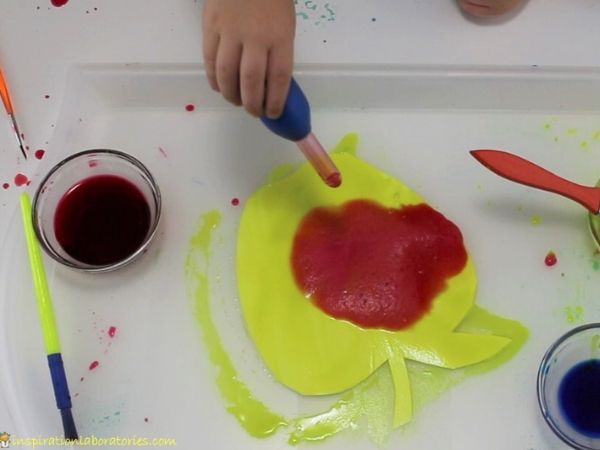
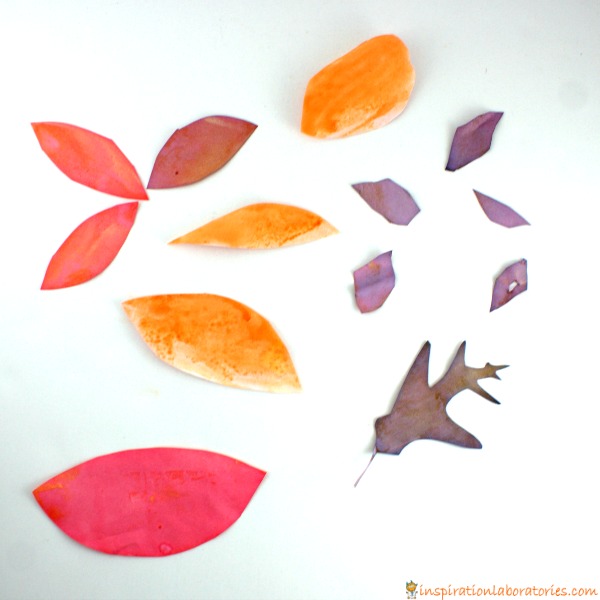
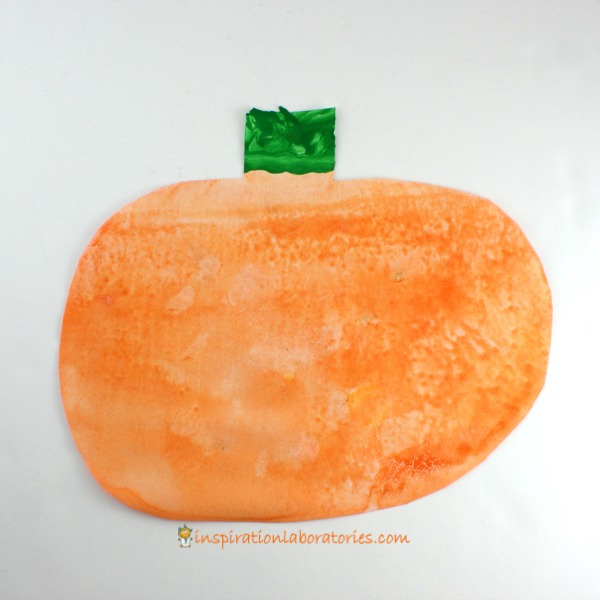
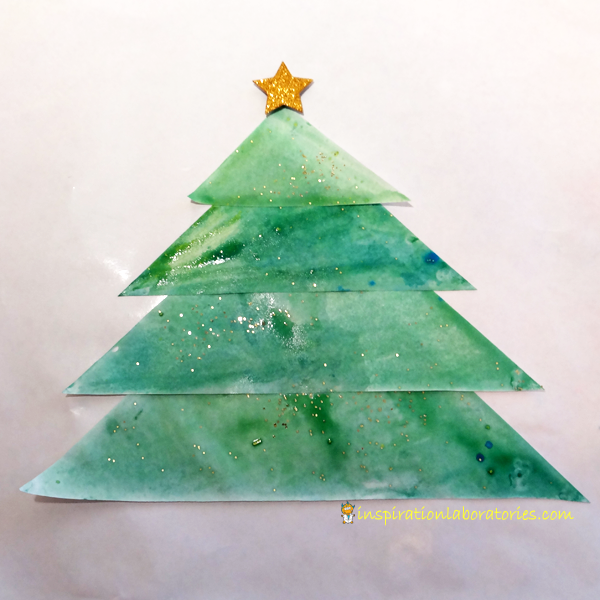
Instead of painting the paper, you could paint the tray and then make prints with the paper. That’s what we did for our Baking Soda Painted Leaves. We just used regular thin copy paper for that one.
Allow your child to continue painting and adding as many layers as she would like. Keep a paper towel handy to soak up the excess.
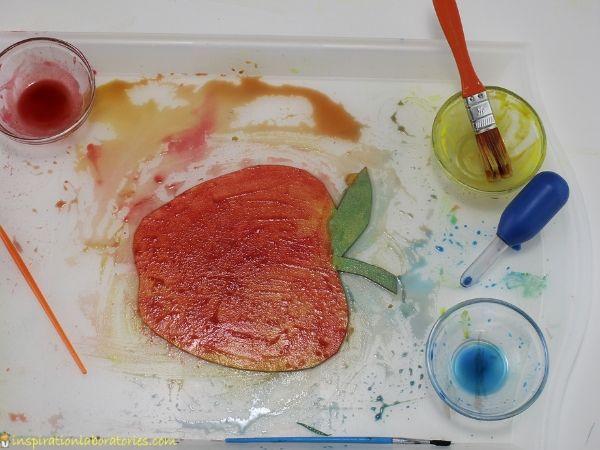
Once the fizzing is over and your child is finished painting, remove the paper and set it aside to dry. I just placed it on a paper towel on a nearby box. You could use a tray, wax paper, freezer paper, or other container as a drying location.
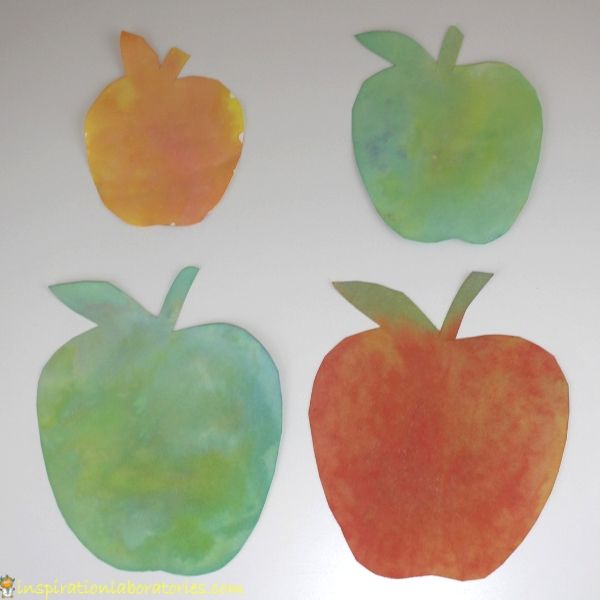
Once the baking soda painted apple art is dry, you can brush off the layer of baking soda that will probably be on top. I think our apple art turned about pretty neat. How about you?
More Baking Soda Painting Activities
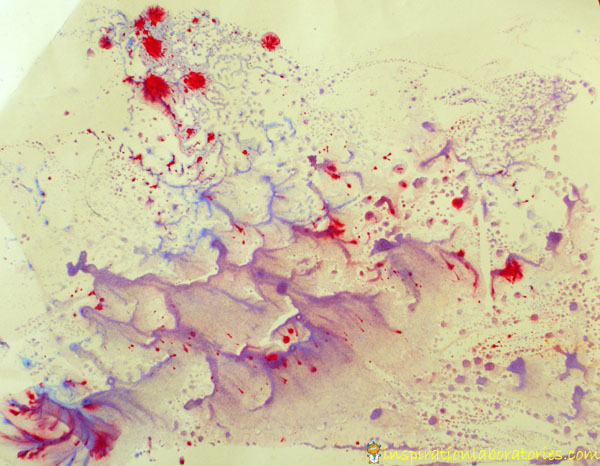
Painting with Baking Soda and Vinegar (open ended process art)
More Apple Themed Activities for Kids
- Apple Tree Gross Motor Game
- Play Dough Apple Stacking Activity
- Apple Books and Apple Science Activities
Subscribe to the Inspiration Laboratories newsletter. Each issue has exclusive hands-on science explorations for children, a recap of our latest activities, and special resources selected just for you!
This post was originally published on September 12, 2019.


Leave a Reply