Sweet Potato Play Dough
Sweet potato play dough is a squishy fun sensory experience for kids. This two ingredient taste safe play dough recipe is perfect for toddlers and preschoolers who still might try to eat the dough.
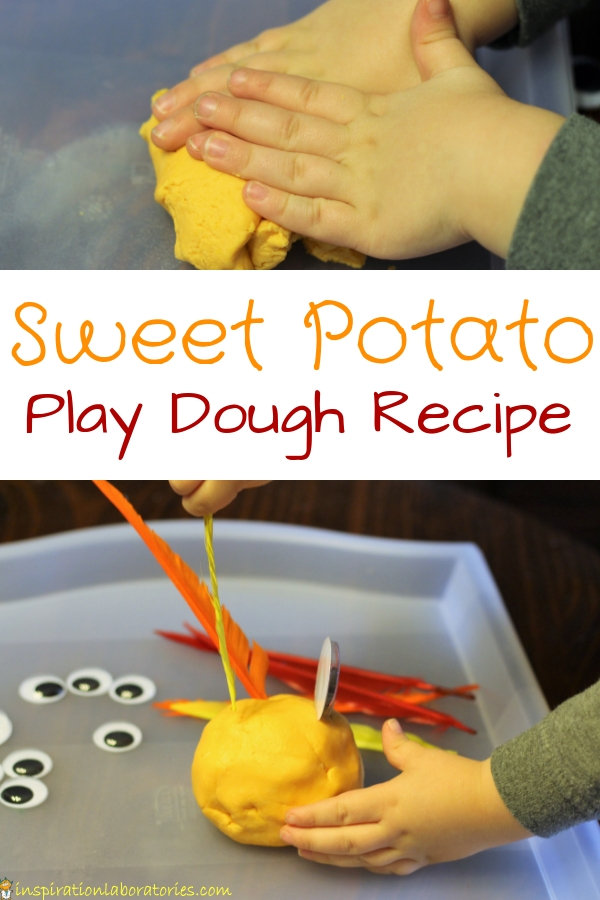
Sweet Potato Play Dough Recipe
I first made a mashed potato play dough with potatoes and flour. I used to consider it a taste safe or edible play dough but now raw flour isn’t considered safe to eat. Most of our flour is contaminated with E. coli bacteria and must be heated to be safe to eat.
That’s why my sweet potato play dough has corn starch instead of flour. The texture isn’t quite that of a normal play dough (it’s softer), but it still holds together and forms a nice dough.
Ingredients for the Sweet Potato Play Dough
- 2-3 sweet potatoes (2 cups)
- corn starch (2-3 cups)
How to Make the Sweet Potato Play Dough
Bake 2-3 sweet potatoes using your preferred method. I wash the potatoes, poke holes in them, coat them with oil, and bake them in the oven at 350 °F for at least an hour.
Small sweet potatoes will be done in about an hour whereas medium sweet potatoes will take at least an hour and a half. Larger sweet potatoes will take even longer.
You could also bake the sweet potatoes in the microwave.
Once the sweet potatoes are fork tender (like you would serve them to eat), remove them from the oven and allow them to cool. Peel the cooled sweet potatoes and place the insides into a bowl. Mash the sweet potatoes. This should be easily done with a spoon. Just stir them up.
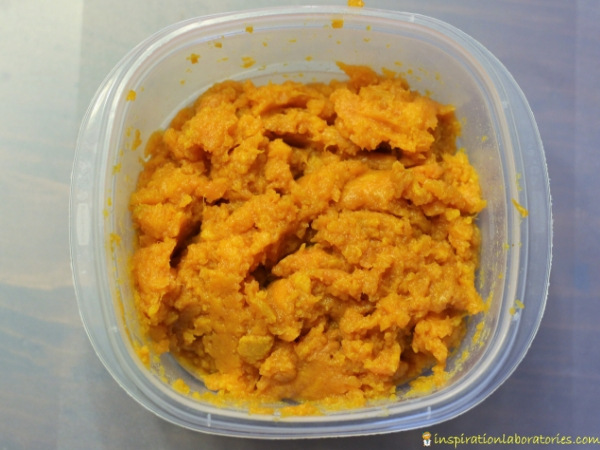
You’ll need 2 cups of sweet potatoes for this play dough recipe. I used 2 sweet potatoes that were on the larger side. I easily got 2 cups out of them plus a little extra was left. (If you end up with less sweet potatoes, just cut the recipe in half. You’ll still have a good amount of play dough for one child.)
Start by combining 1 cup of corn starch with 2 cups of sweet potatoes. Continue adding corn starch and kneading until a dough forms. I ended up adding almost 3 cups of corn starch. The amount you need will vary depending on the moisture content in your sweet potatoes.
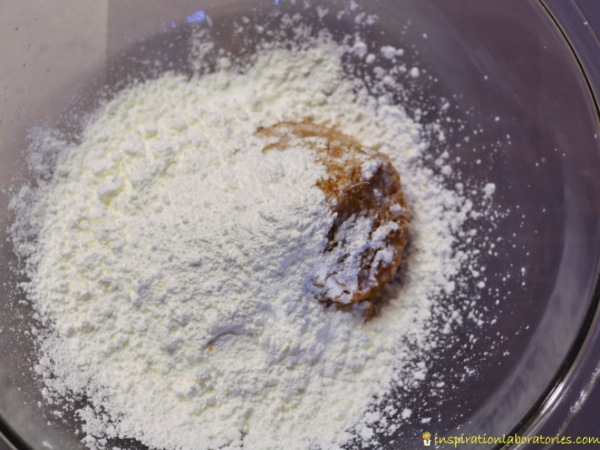
I placed our dough in the refrigerator for an hour. This seemed to help the dough firm up a bit more.
This dough will not keep very long – just a couple day. Be sure to refrigerate after playing. (Treat it like Thanksgiving leftovers.)
Set Up an Invitation to Play with the Sweet Potato Play Dough
Set up an invitation for your child to play with the sweet potato play dough. You could just set out the dough or you could provide some tools – cookie cutters, play dough tools, bowls, spoons, etc. I placed some feathers and large wiggly eyes (sent to us by CraftProjectIdeas.com) on a tray next to some of the play dough.
Make sure to supervise and be aware of small items that can pose a choking hazard.
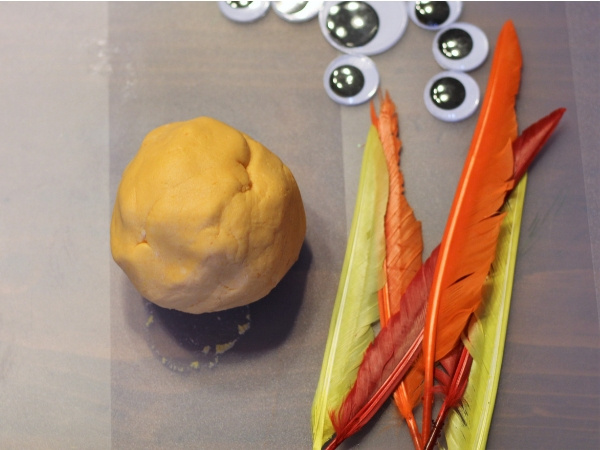
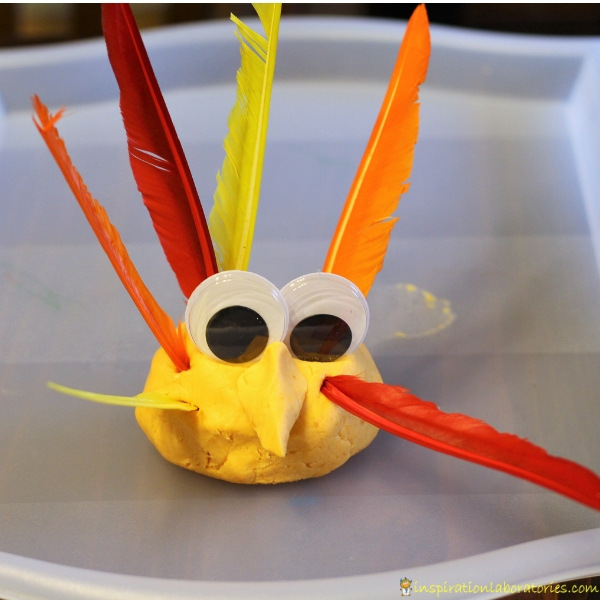
My toddler (age 2.5) wanted to make a turkey with the materials. He was reluctant to touch play dough at first. So he just added the eyes and feathers to the play dough ball.
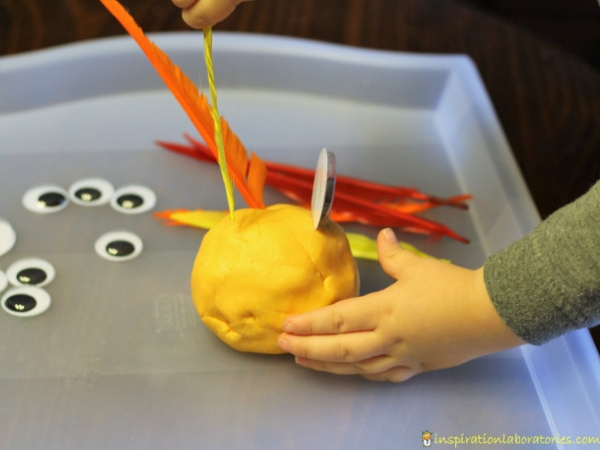
He decided the turkey needed a beak, so I helped him create one.
I set out more play dough for him and encouraged him to touch the dough. He didn’t want to. I showed him how to push his hands in it to make a handprint. He had to try that, too.
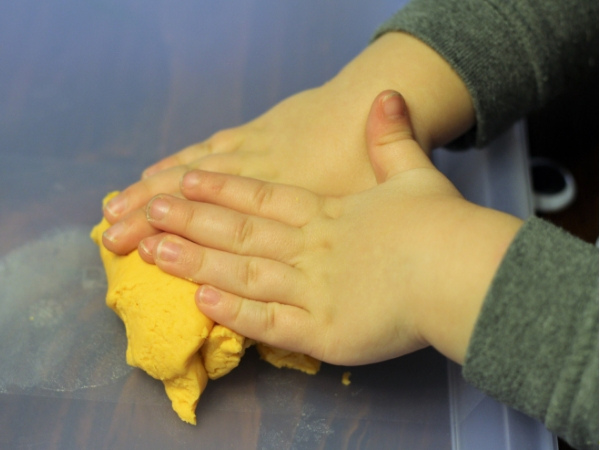
He said he didn’t like that the dough sticks to his hands. (It’s really a thin layer of corn starch.) Eventually he got over this issue and had fun squishing the dough.
He added lots of wiggly eyes. We practiced counting them.
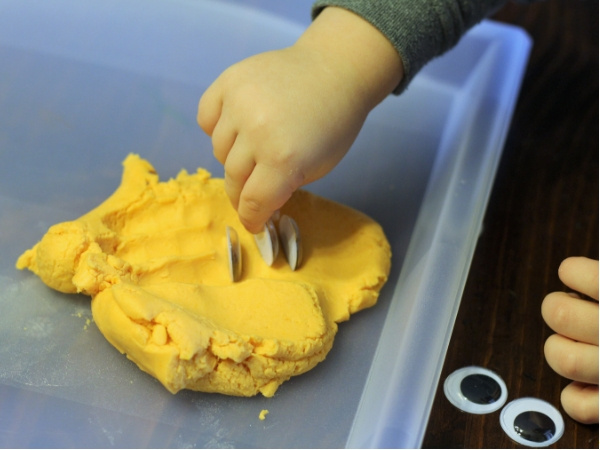
I showed him how to roll balls and squish them. He decided they looked like the letter O.
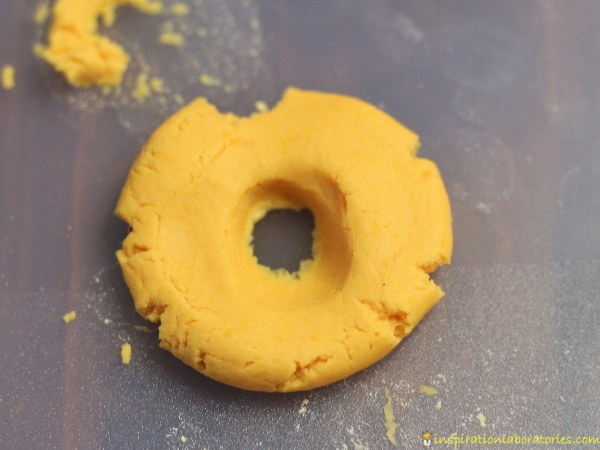
Elon said he had lots of fun playing with this play dough. He especially like squishing it to make Os.
When you’re done, a little bit of cornstarch will be left on your hands, but it washes right off.
Let me know if you try this sweet potato play dough recipe and what you think of it.
More Play Dough Recipes and Activities
- Gluten Free Play Dough with Natural Dyes
- Fizzy Play Dough
- Try 20 different play dough recipes and ideas
Subscribe to the Inspiration Laboratories newsletter. Each issue has exclusive hands-on science explorations for children, a recap of our latest activities, and special resources selected just for you!
This post was originally published on November 21, 2018.

Leave a Reply