Glittered Christmas Ornaments
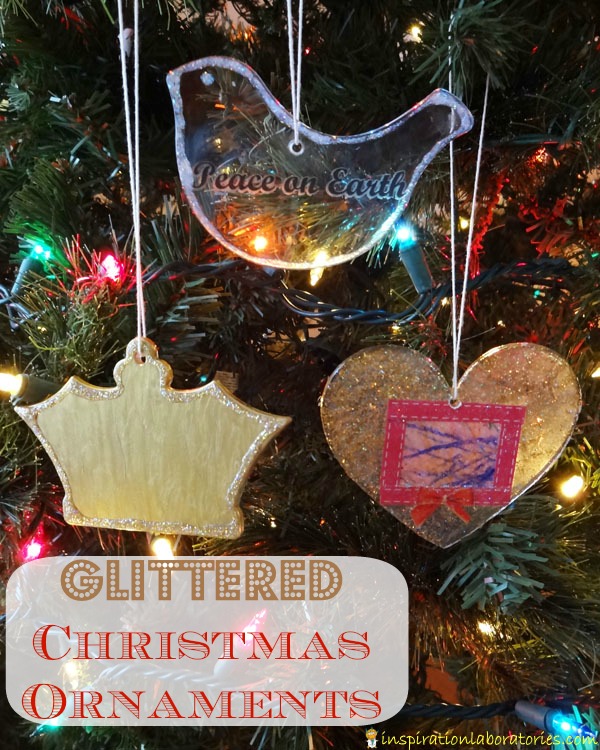
I have more ideas for turning the Podgeable acrylic shapes from Mod Podge into Christmas ornaments. This time the theme is glitter. I used Mod Podge and paint on the ornaments.

Glittered Christmas Ornaments
Materials Used
Here’s a list of all of the products I used to create the ornaments. All of the Mod Podge products and paint were sent to me by Plaid, so I had fun combining them all in different ways.
- Mod Podge Podgeable Acrylic Shapes
- Metallic paint {gold}
- Glitter paint {Folk Art Chunky Glitter Gold}
- Mod Podge Sparkle
- Mod Podge Dimensional Magic {glitter gold and glitter silver}
- Paint brushes, sponges, and/or rollers
- Mod Podge Podgeable Papers
- Mod Podge Rub-on Transfers
- Your child’s coloring pages or other artwork
- Ribbon
- Drill or Dremel tool
How to Create the Christmas Ornaments
The Heart

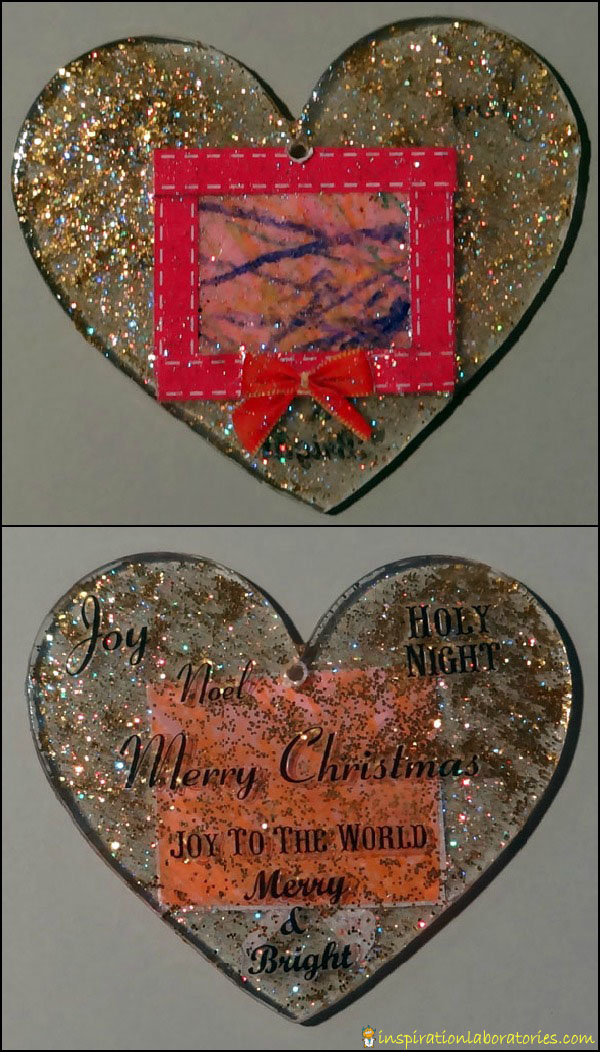
Front of Heart:
- Paint one side of the ornament with glitter paint. I used Folk Art Chunky Glitter Gold. {My 3 year old son actually did this step.} Allow paint to dry.
- Choose something to feature on one side of the ornament. I selected one of my son’s crayon drawings and cut out a square. {Scrapbook paper or the Podgeable Paper from Mod Podge would work well for this, too}
- Attach the artwork to the podgeable shapes using Mod Podge and a sponge brush or roller. I used Mod Podge Sparkle because I wanted the extra glitter. You could also use a plain Mod Podge in matte or gloss if you don’t have the sparkle kind on hand. We’re adding plenty of glitter later.
- Apply a layer of Mod Podge to the top of the artwork as well.
- Use the Podgeable Papers or scrapbook paper to add a border to the artwork. Again, I used Mod Podge Sparkle to attach them. I also covered the border in a layer of Mod Podge.
- Allow the Mod Podge to dry.
- Cover the outside of the heart with Dimensional Magic Glitter Gold. The Dimensional Magic adds an extra layer of interest to the ornament. It is raised above the rest of the ornament.
Back of Heart Ornament:
- Use the Rub-on Transfers from Mod Podge to add festive words. I guess the transfers are self explanatory because they don’t come with instructions just a craft stick. Simply place the words where you want them and rub using the craft stick provided. Be sure to rub each letter well or you will pull off only part of the word. I tried using the rub-on transfer on the front of the ornament {over the dried Mod Podge Sparkle}. This did not seem to work. The letters didn’t want to stick.
If your ornament feels tacky even after drying, you can apply a clear acrylic sealer {also available from Mod Podge}.
Drill a hole in your ornaments so you can hang them with ribbon. My husband used a Dremel tool for this.

Crown
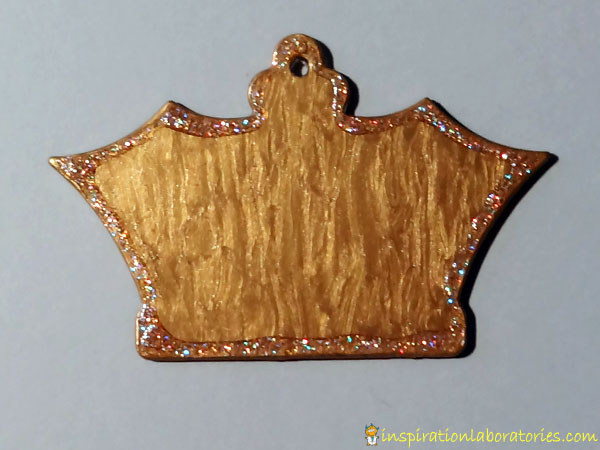
I decided not to place my son’s drawings on the crown or the dove. My son painted the crown with metallic gold. I added a second coat of paint. I then traced around the edge with Dimensional Magic Glitter Gold.

Dove
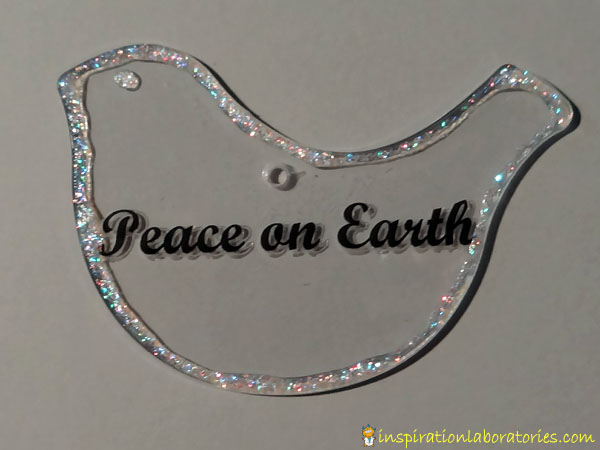
For the dove, I used a rub-on transfer and traced around the edge with Dimensional Magic Glitter Silver.

More Ideas
I think the podgeable acrylic shapes are very versatile. The design possibilities are endless. What would you create?
Have you seen the other Christmas Ornaments featuring my son’s artwork?
I have more Mod Podge Christmas crafts planned, so be sure to connect with Inspiration Laboratories in your favorite ways – on Twitter, Google+, Pinterest, or Facebook . You can also subscribe to my posts by e-mail.
Linking up here.


Leave a Reply