Chromatography (Tie Dye) Christmas Ornaments
This #GiveColorfully shop has been compensated by #CollectiveBias and its advertiser. All opinions are mine alone. Use Sharpie permanent markers and Mr. Sketch scented markers to make colorful tie dye Christmas ornaments. Chromatography is the science behind the tie dye effect. This combination of science and art makes for a fantastic STEAM project for kids.
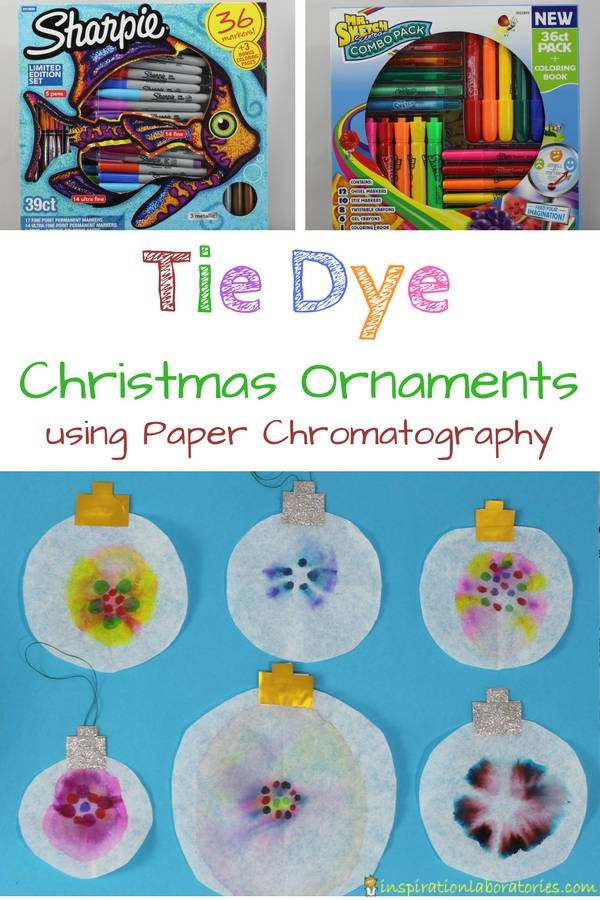
Sharpie Permanent Markers Make Excellent Gifts
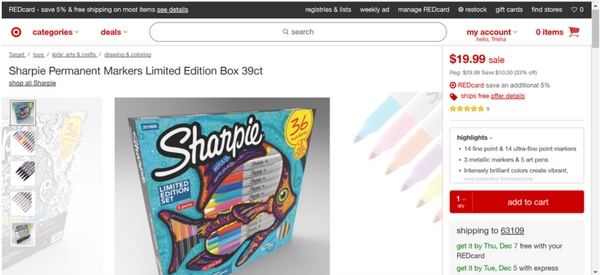
There’s just something about a new set of markers that is exciting – whether it’s using them for drawing, journaling, or science projects. The Sharpie Permanent Markers Limited Edition Gift Pack would make a great gift idea. From 12/3 to 12/23, you can save $10 on one of four writing gift kits at Target. Get them for only $19.99 each.
The products are available at Target in stores or online. I purchased mine online.
Chromatography (Tie Dye) Christmas Ornaments
Have you ever thought about the colors that make up your markers or pens? Sometimes different pigments are used to get the final color we see. You can separate the pigments using paper chromatography. Paper chromatography is used in chemistry for identifying a liquid substance by separating it into its components. The components of the substance travel across the paper at different rates so they can be separated and identified. You can see what colors make up ink or markers by using paper chromatography. We’re going to use this method of separating marker colors to create some tie dye patterns for ornaments.
Click on the image below to check out the Sharpie Permanent Markers Limited Edition Gift Pack and the Mr. Sketch Scented Combo Gift Pack.
Here’s what you’ll need to make the tie dye Christmas ornaments:
- Sharpie permanent markers and/or washable makers (Different brands and colors of markers will produce different results. My favorite is the black Mr. Sketch maker.)
- Coffee filters
- Alcohol (if using Sharpies)
- Water (if using washable makers)
- Small cup
- Pipette or eye dropper
- Scissors
- Washi tape (or ribbon and glue)
- Thread or string
How to Make the Tie Dye Christmas Ornaments
Start by cutting the coffee filters into a smaller circle to cut off the ruffley bit. You want the circle to be bigger than the cup you are using. (The circle will sit on top of the cup.) Use Sharpies to draw dots on your coffee filter. The colors will spread out so I like to leave some space between the dots.
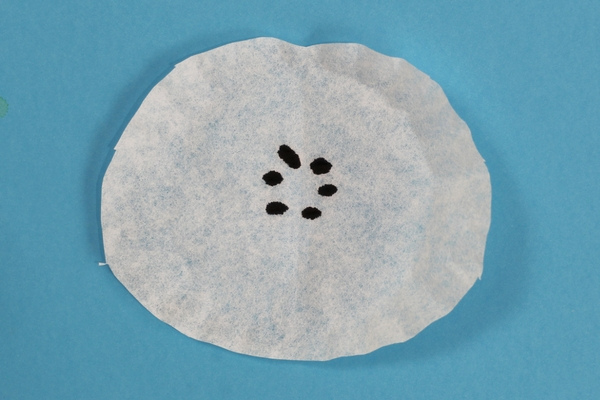
Place the coffee filter on top of the cup. Add a drop or two of alcohol to the center. Watch the colors spread. Below I’ve used a black Sharpie. You can see the different colors that make up the marker.
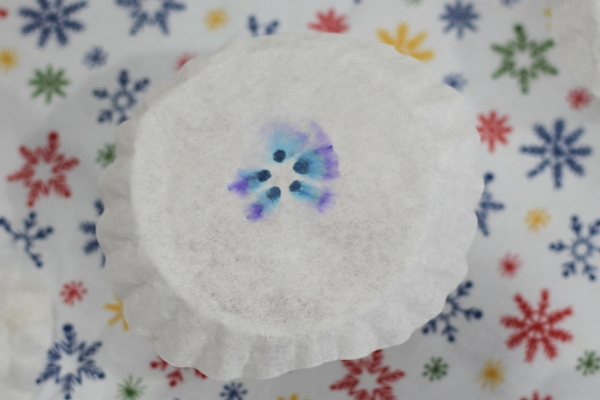
Add different colors and watch how they spread out. Cut the coffee filters a bit smaller and then add washi tape and string to hang them as ornaments.
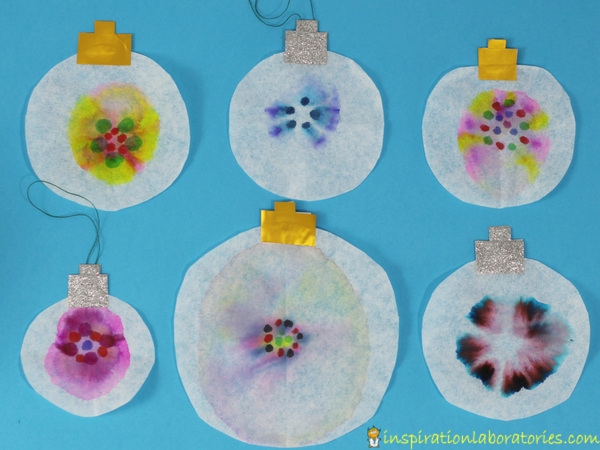
There are so many possibilities with all of the different combinations of colors.
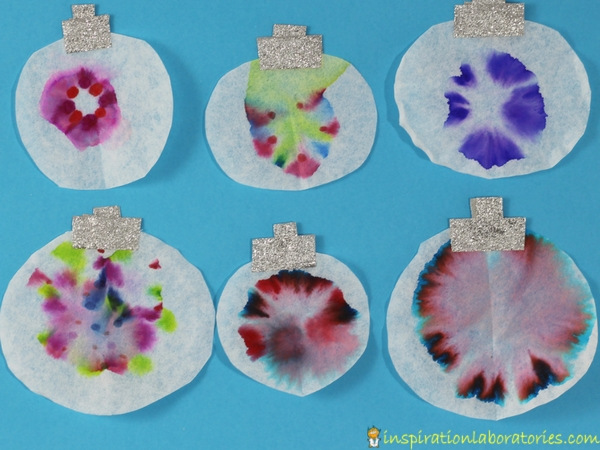
Sharpies are soluble in alcohol but not water. This is why the colors spread out when you add drops of alcohol. You can try this same method with washable markers and water. The black Mr. Sketch marker has the most striking chromatography pattern. See all of the different colors we tried when we made chromatography Christmas ornaments in the past.
Check out the video of the process in action.
Be sure to grab the special offer from Target while it lasts. From 12/3 to 12/23, you can save $10 on one of four writing gift kits at Target. Get them for only $19.99 each.
More Christmas Science Projects
- Try jingle bell drop painting – it’s another fun Christmas STEAM idea that combines science and art.
- Make a Christmas ornament glyph – if you know the secret code, you can figure out who the owner of the ornament is.
- Check out our Christmas science advent calendar – it has 24 days of Christmas themed science activities to do with the kids.
Subscribe to the Inspiration Laboratories newsletter. Each issue has exclusive hands-on science explorations for children, a recap of our latest activities, and special resources selected just for you!


Leave a Reply