Layering Liquids Density Experiment
Learning about density is great fun for kids. This layering liquids density experiment is fun and tasty! Give it a try.

Layering Liquids Density Experiment
We have done this density experiment before with our saltwater density investigation. Today we’re changing it up a bit. Instead of using saltwater, we are using sugar water. And to make this even more fun, let’s use flavored sugar water. We’ll have a fun little drink when we’re done experimenting.
To make this an experiment, we need to change something. Let’s change the amount of sugar in our flavored waters. We could go to the trouble of making different concentrations of sugar water, but that requires a lot of stirring and sometimes the sugar won’t dissolve as well as you hope. Let’s use pre-made flavored sugar water, aka juice {any sugary drink would work}. The greater difference in sugar concentration between the liquids, the easier it will be to layer them. {You’ll still get layering with even slight density differences – ask my Oceanography students about that lab – but the layers tend to mix, especially if your kids are doing the pouring.}
Here are the materials you need:
- Clear glasses
- Graduated cylinder (optional, but it helps use less liquid)
- 2-5 kinds of sugary drinks
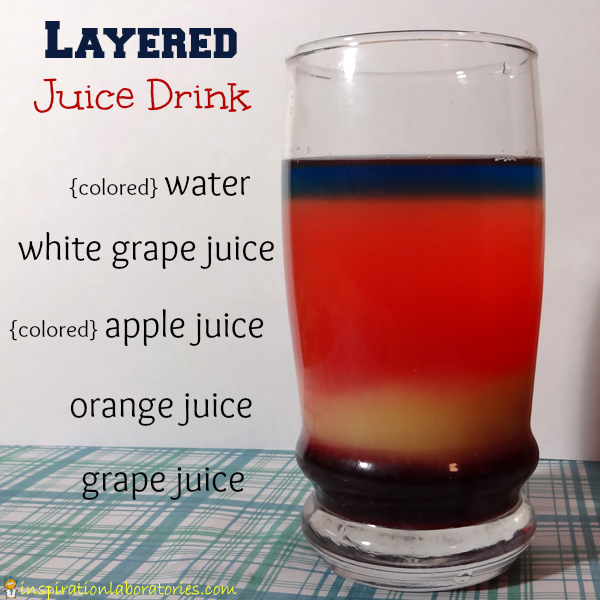
- grape juice (40 g of sugar)
- orange juice (22 g of sugar)
- apple juice (29 g sugar)
- white grape juice light (11 g of sugar; also sweetened with sucralose)
- water (0 g of sugar)
- Syringe (optional but it helps to layer the liquids)
Stacking Two Liquids
I showed Aiden the different liquids and told him they each contain a different amount of sugar. I asked him to pick two of them.
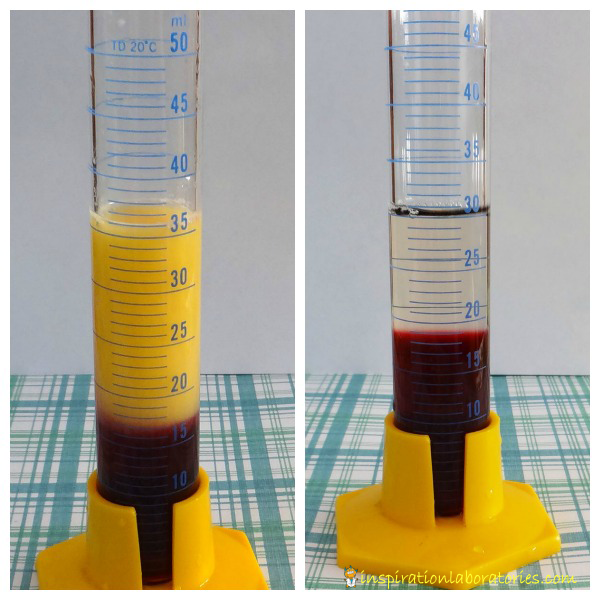
I said: This grape juice has more sugar than the orange juice. What do you think will happen when we pour the juices together? (You can just use a small amount of each liquid and pour them into a tall skinny container like a graduated cylinder. You’ll use less materials this way.)
Make some predictions:
- Pour drink A onto drink B, this will happen…
- Pour drink B onto drink A, this will happen…
Make an observation: The drink with the higher amount of sugar sinks to the bottom.
We repeated this with the other drinks. Choose two liquids, predict what will happen, and observe the results.

When we added the orange juice to the apple juice, the orange juice sank. This tells us that the orange juice was more dense than the apple juice. Density isn’t just about the amount of sugar in the water. Other things dissolved in the water – maybe some pulp in the case of orange juice – will affect it. (Density is the amount of stuff [mass] per volume.)
Stacking Five Liquids
Now that we’ve established the densities of the liquids, we can layer even more liquids.
- Place the liquids in order of their density.
- Pour the most dense (highest sugar content) drink into a glass.
- Slowly pour the liquid with the next greatest density into the glass. Slowly pour the drink down the side of the glass. (Using a syringe or medicine dropper makes it easier. There will be less mixing.)
- Continue layering the liquids in order of decreasing density.

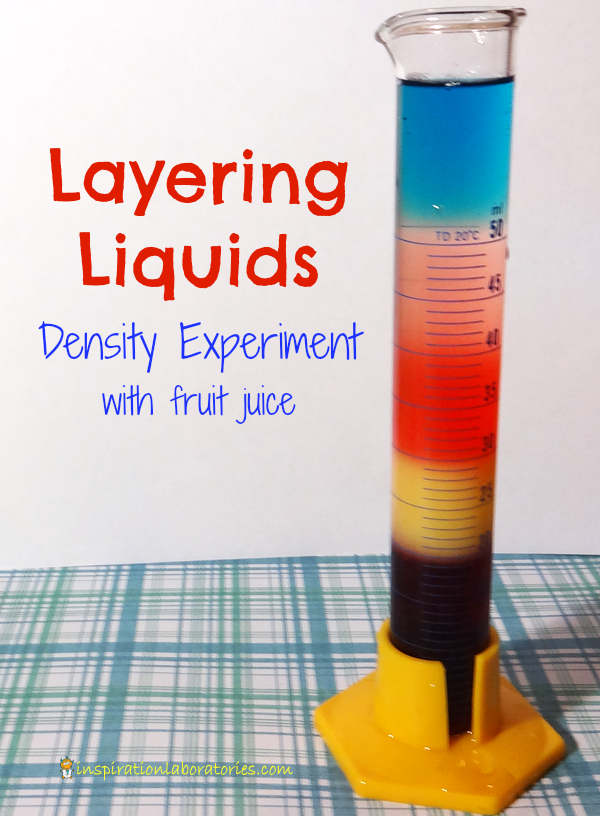
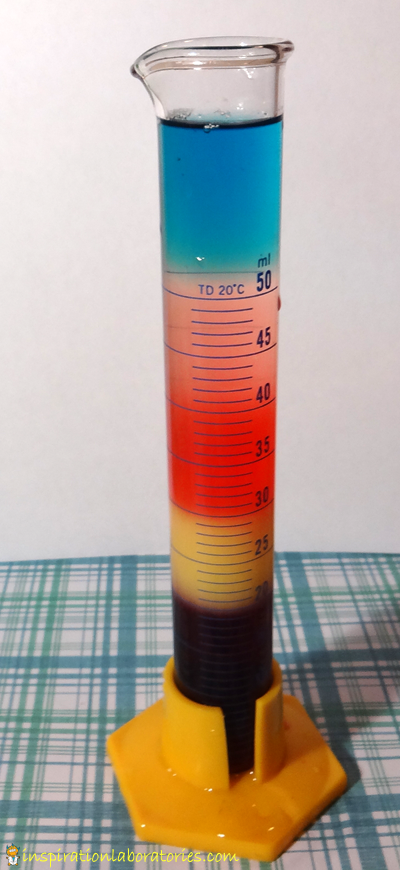
How many liquids can you stack? We managed to get five different density layers.

More Ways to Explore the Science of Liquids with Kids
Check out these liquid science activities from some of my blogger friends.
Bern from Mom to 2 Posh Lil Divas experiments with oil and water.
Allison from Learn Play Imagine shares a walking water experiment.
Megan from Coffee Cups and Crayons asks: Does it dissolve?
Are you following Inspiration Laboratories on Facebook? Or you can subscribe to the Inspiration Laboratories weekly newsletter. Each issue has exclusive hands-on science explorations for children, a recap of our latest activities, and special resources selected just for you!
This post was originally published on August 7, 2013.

Leave a Reply