DIY Valentine’s Day Squishy
Do your kids love squishies? They are so much fun to play with. They make a great stress relief toy or fidget for busy hands. Use our simple instructions to make your own DIY Valentine’s Day squishy and then create your own squishy toy design. I get commissions for purchases made through the affiliate links in this post.
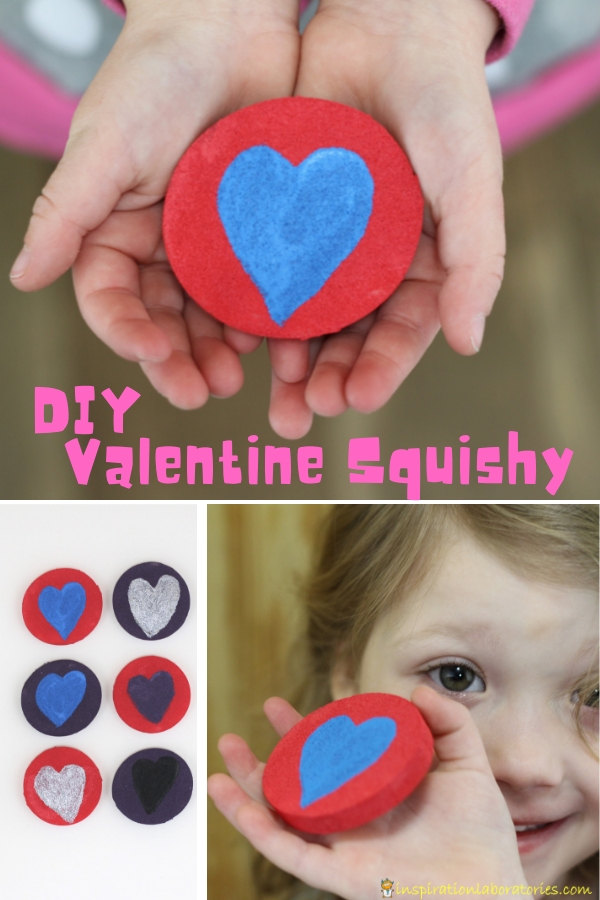
DIY Valentine’s Day Squishy
Page Street Publishing sent us 101 Kids Activities that are the Ooey, Gooey-est Ever! – the latest activity book from Jamie Harrington, Brittanie Pyper, and Holly Homer – for review.


The book is full of recipes for slimes, doughs, and moldables. Tons of ooey gooey fun! We are excited to try lots of activities. The first project that caught Aiden’s eye (he’s 9 years old) was the Homemade Smiley-Emoji Squishy. It’s the next to last project in the book and it may be the easiest. You only need two ingredients plus some supplies you probably have on hand.
View this post on Instagram
We loved making the emoji squishies so much that we thought it would be a great idea to make some heart squishies for Aiden’s third grade class as valentines.
Supplies Needed to Make Your Own Squishies
- round cosmetic sponges
- fabric paint (I used red, blue, black, and silver)
- paint brushes
- paint tray (or lids)
- paint cloth, newspaper, foil, freezer paper, etc. (something to cover your work area and locations for the squishies to dry)
- plastic gloves (optional)
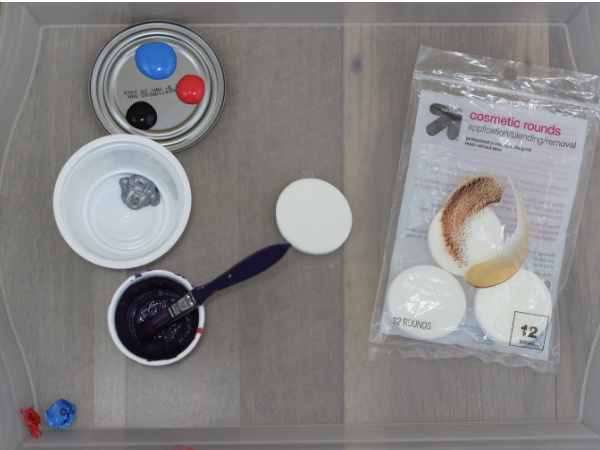
Instructions for DIY Valentine Squishies
Cover your work area. We used a tray from Ikea that’s easily washed. We placed the painted squishies on a piece of foil (because I couldn’t find my freezer paper) to dry. I recommend wearing clothes that you don’t mind getting paint on. Fabric paint is permanent and will not wash out.
Paint the round cosmetic sponges in a base layer color of fabric paint. (We used red or purple.) Fabric paint is flexible when it dries. You can either use a paint brush to cover all sides of your sponge or you can wear gloves and squish the paint all over. Just be sure to get a good layer of paint. The sponge will soak some of the paint up.
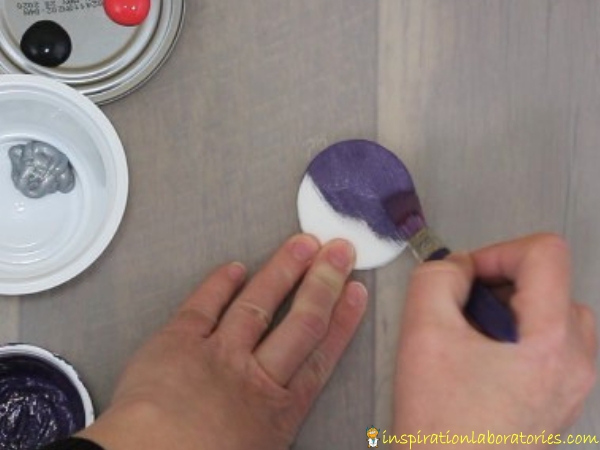
Allow your squishies to dry.
Use a thin paint brush to paint a heart onto each squishy.
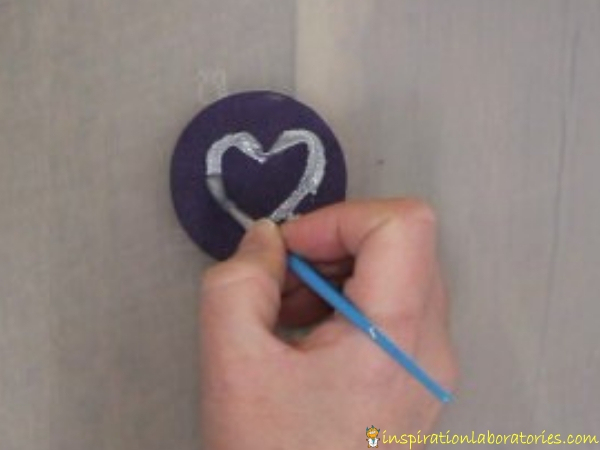
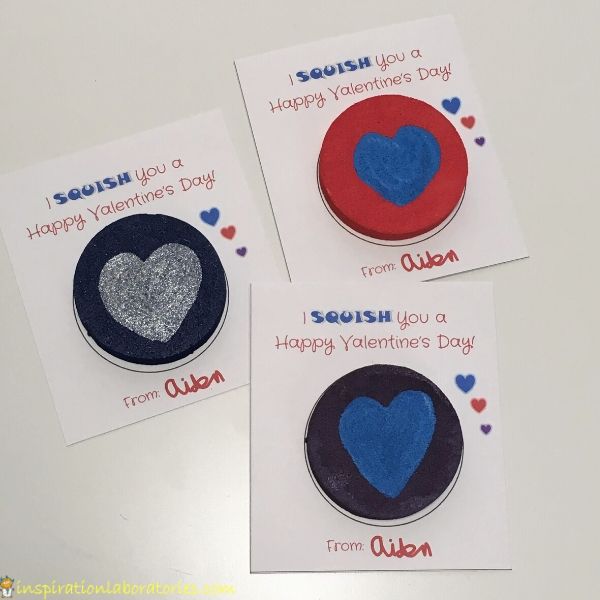
We varied the colors of the hearts. What is your favorite color combination?
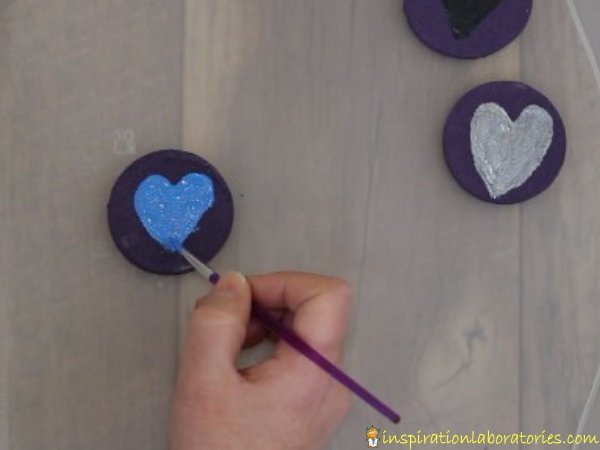
Once again, allow the squishies to dry. Now you have a valentine squishy perfect for sharing on Valentine’s Day.
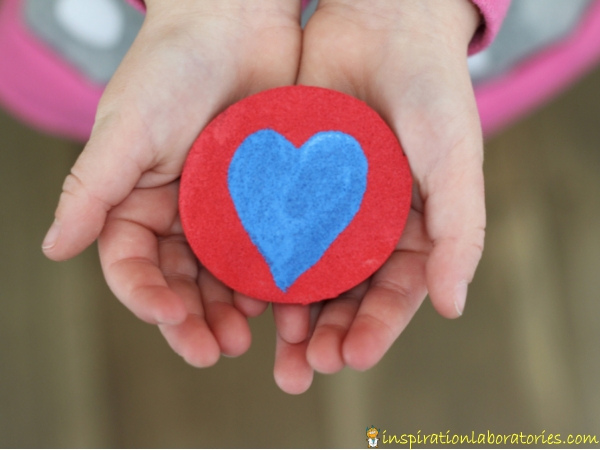
If you want multiple colors on your hearts, allow each layer of paint to dry before adding another. I want to try a rainbow heart valentine squishy next!
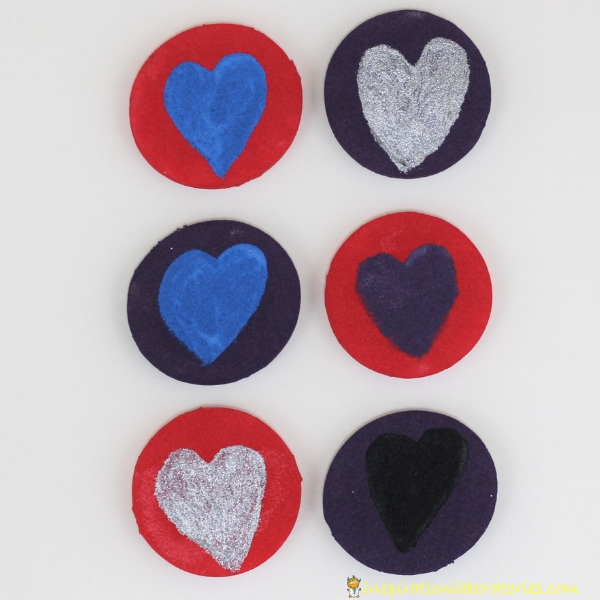
We tried using a permanent marker to draw on the squishy but didn’t like the way it turned out. You can’t get crisp lines – the edges are too fuzzy.
Lily wanted to show off one of the valentine heart squishies we made. Her favorite color is blue, so she chose the one with the blue heart.
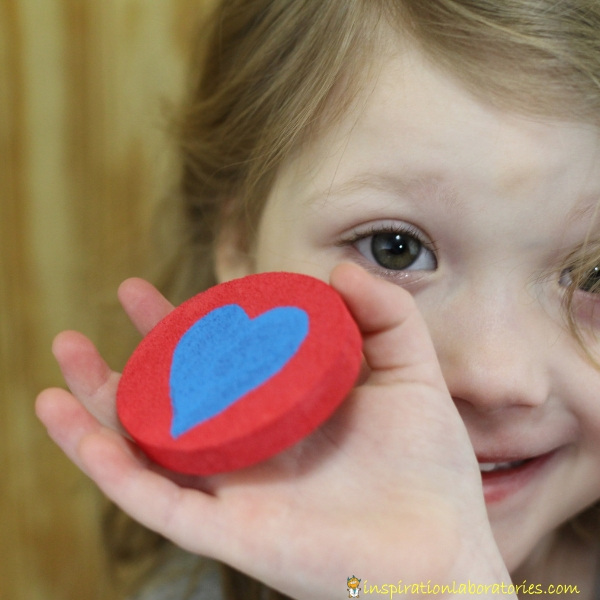
We’ll have another painting session soon to make the rest of the squishy heart valentines for Aiden’s class.
Classroom Valentine Card Printable
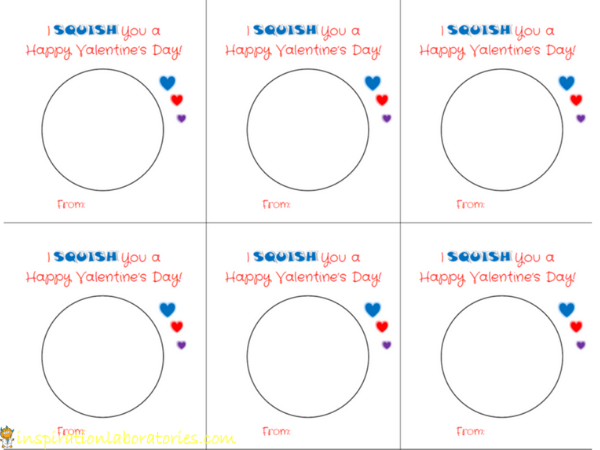
We decided on “I SQUISH You a Happy Valentine’s Day!” as the message for the class valentine cards.
You can download the I SQUISH You a Happy Valentine’s Day! card printable here for your personal or classroom use.
Here’s what the valentine squishy looks like on the card.
More Valentines to Make with Kids
Solar System Valentines – Download this valentine for your space lover. They are the perfect size to print out and send to school for Valentine’s Day.
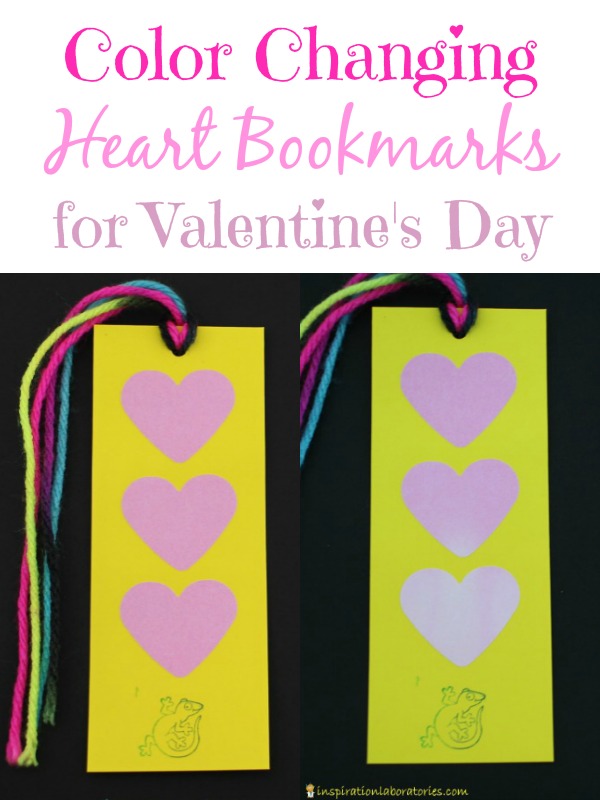
Color Changing Heart Bookmarks for Valentine’s Day – Add a little science to your valentines. The warmth of your hand changes the color of the hearts.
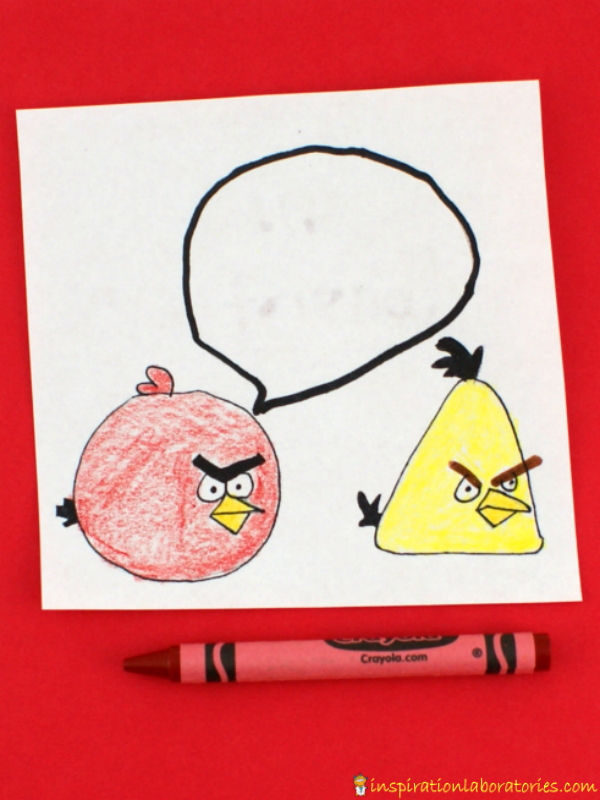
Angry Bird Valentines with Secret Messages – Your friends use a crayon to reveal your secret message!
Subscribe to the Inspiration Laboratories newsletter. Each issue has exclusive hands-on science explorations for children, a recap of our latest activities, and special resources selected just for you!


Leave a Reply