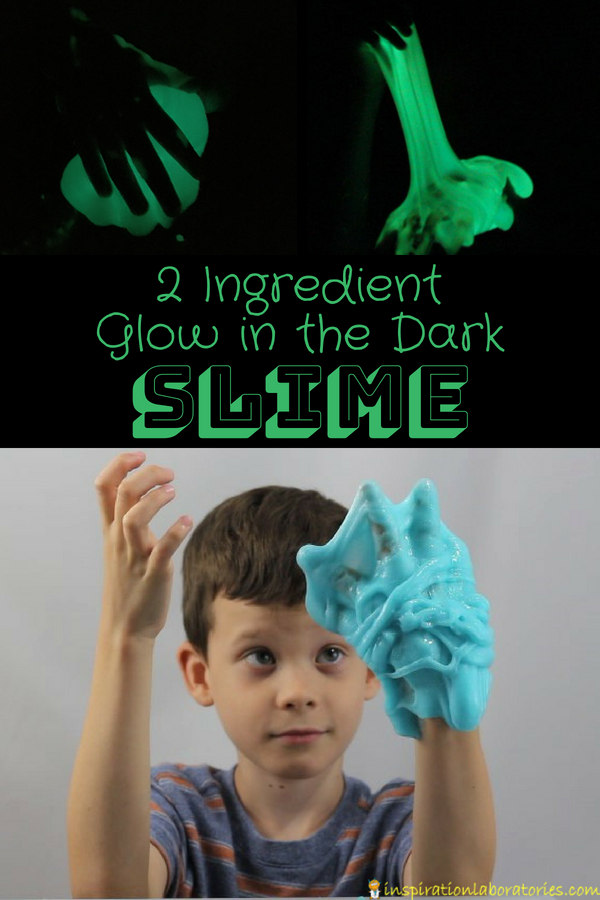
2 Ingredient Glow in the Dark Slime
Our 2 ingredient glow in the dark slime is super cool and super easy to make. It’s a basic liquid starch slime with a small twist. Get the recipe and read my slime making tips below. I get commissions for purchases made through the affiliate links in this post.
2 Ingredient Liquid Starch Slime Recipes
Have you seen all of the different types of glue Elmer’s is making these days? They have opaque colored glue, transparent colored glue, glitter glue, and even glow in the dark glue. The colored glues make slime making super simple. Add liquid starch (and maybe a little water) to your glue of choice and you have a quick and easy slime. I love it for making individual batches of slime with the kids.
Check out all of our 2 ingredient slime recipes:
2 Ingredient Glow in the Dark Slime
When I saw the glow in the dark glue at the store, I knew I had to make slime with it. My friend Sarah has a new ebook, The Ultimate Slime Guide. (She sent me a copy for review.) This was the perfect excuse to try a new slime recipe from the book. I’ve made a ton of slime over the years, but I tend to stick with my favorite liquid starch slime recipe. I mentioned before in my Halloween slime post that adding a little bit of water helps to make the liquid starch slime come together more quickly.
The Ultimate Slime Guide has 4 basic slime recipes: liquid starch slime, saline solution slime, fluffy saline solution slime, and borax slime. (It also includes 70+ slime ideas and themes.) Of course, I gravitated towards her liquid starch slime recipe. When I make slime, I start with equal parts glue and liquid starch and then experiment by adding more liquid starch or glue until the consistency is just right. Sarah recommends using quite a bit of water in her slime recipe. The amount of water changes the consistency of the slime. More water causes the slime to flow more. It looks more goopy. Less water and more liquid starch creates a thicker slime. Try different amounts of water and see which version you like best. They are all super slimy fun.
It’s all about the ratios. What I love best about liquid starch slime is that you can’t mess it up. As long as you have glue and liquid starch on hand, you can easily fix it. (I like to keep some extra clear glue around just in case.)
Safety note: Always supervise the making and playing of slime. Once finished wash your hands to get rid of any residue (glue and liquid starch can dry skin). Slime should only be used with kids that won’t eat it. While the ingredients I use (glue and liquid starch) are technically non-toxic and safe for everyone to handle, I don’t think it’s good practice to allow kids to eat it. Too much could cause an upset stomach. Other slime recipes have different ingredients so be sure you understand the safety requirements before using those. For a taste safe version of slime, try making oobleck.
Supplies You’ll Need for Glow in the Dark Slime:
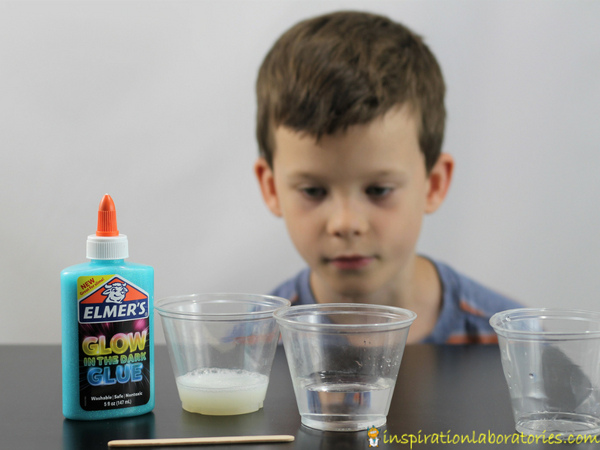
- 1/2 cup Elmer’s glow in the dark glue (the whole bottle)
- about a 1/4 cup liquid starch (find this in the laundry aisle)
- up to 1/2 cup of water (technically optional but it will make things easier and allow you to adjust the thickness of your slime)
How to Make 2 Ingredient Glow in the Dark Slime
I like to use plastic cups and a craft stick or plastic spoon for mixing the slime. I wash the plastic cups and reuse them each time we make slime.
Pour the glow in the dark glue into your container. Squeeze as much out of the bottle as you can. It will be about 1/2 cup. Aiden (age 8) was in charge of making the slime this time, so he added the water. He chose to add about a 1/4 cup of water and then stirred. He was happy with the consistency, so that’s all he added. Experiment with the amount of water you add each time you make a different batch of slime. See which slime consistency you prefer. We like them all. It’s fun to mix it up and make different varieties.
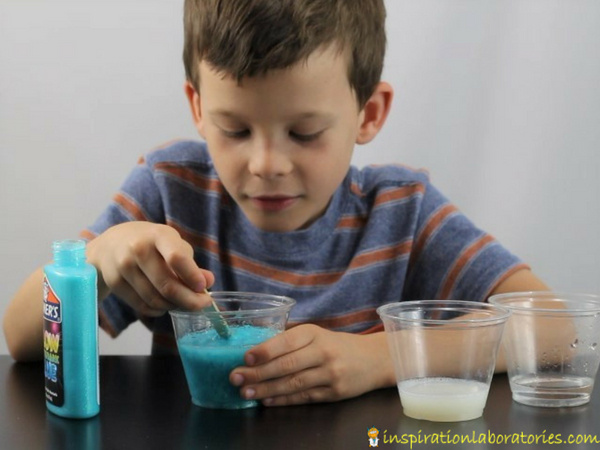
Once the water is completely mixed into the glow in the dark glue, it’s time to add in the liquid starch. We used almost 1/4 cup of liquid starch. Add in the liquid starch. Stir for a bit until the slime starts to come together. At this point, you need to knead the slime for a while. Stretch and pull the slime and fold it onto itself. It should become less sticky at this point and have a nice consistency. If the slime is too sticky, add a little more of liquid starch and knead some more. Continue kneading and adding liquid starch until your slime feels right. If your slime becomes too hard or stringy (not sticky), knead in a small amount of glue. This should fix the issue.
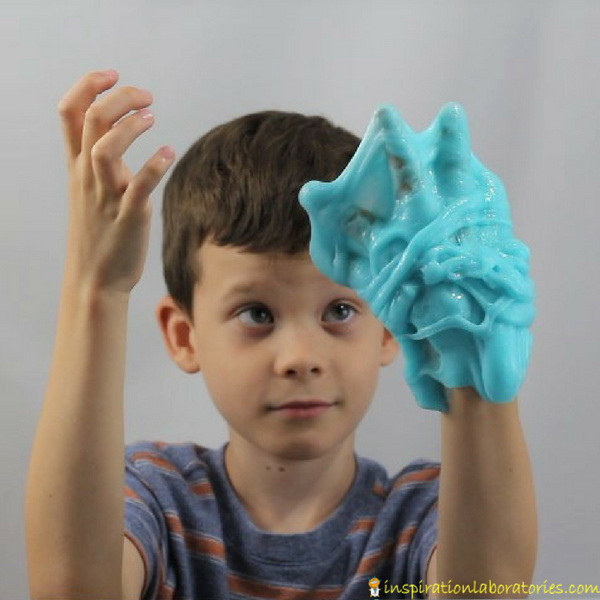
Watch the video to see Aiden make the glow in the dark slime.
We chose the blue glow in the dark glue. It’s a cool color in the light and it has a bit of sparkly glitter already in it.
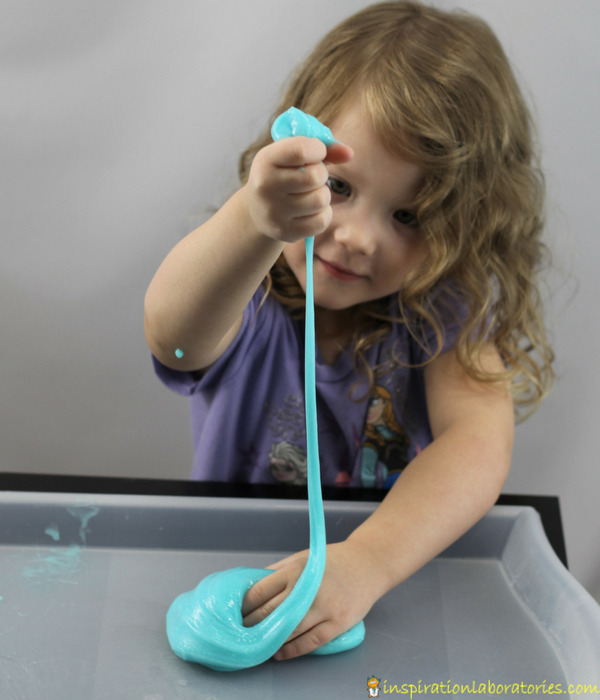
The kids love playing with it in the light and in the dark. Store your slime in a sealed container in the refrigerator.

These glowing pictures are taken with the lights off. You’ll need to charge your slime in the light first. Play with it in a well lit room or next to a window. The glow eventually fades and you’ll need to charge it again.
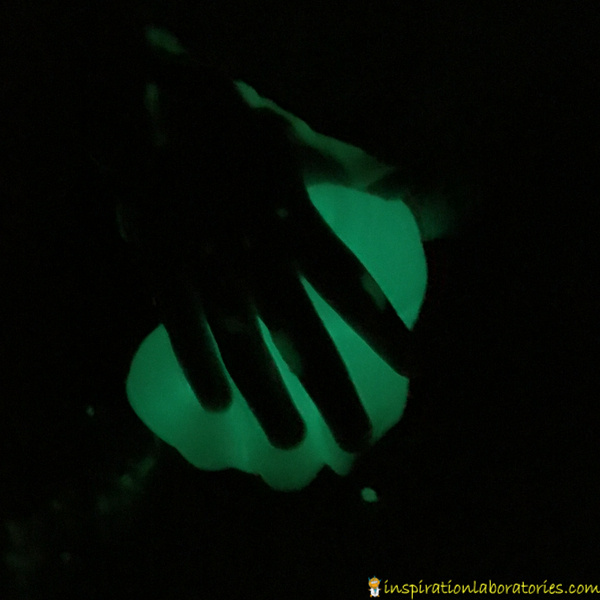
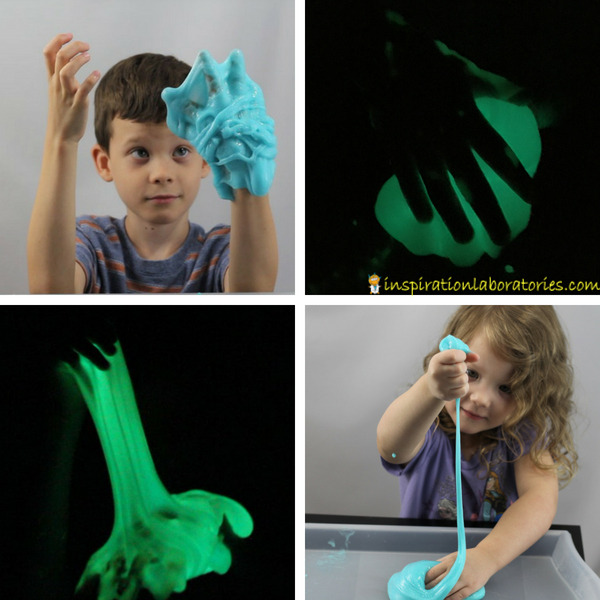
Pretty blue in the daylight and glowing green in the dark. I’d say this simple 2 ingredient glow in the dark slime is a winner! How about you?
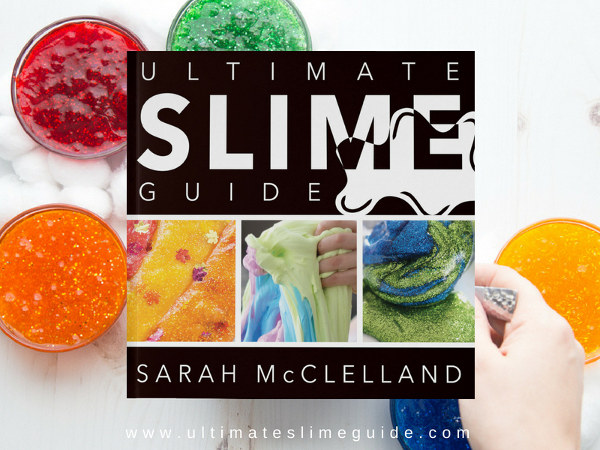
The Ultimate Slime Guide
The Ultimate Slime Guide is now available! This week only (until June 4th, 2018), you can get for the special launch price of $9.99 (regular price $29.99).
What’s inside the Ultimate Slime Guide:
- 88 beautiful color pages to designed to spark your child’s imagination and sense of wonder!
- Learn the secrets behind the slime with walk-through videos and One-Stop-Shopping Supply Lists linked inside the book.
- 70+ slime ideas and themes. Take the 4 basic slime recipes and learn how to add mix-ins to make super cool and unique slime recipes.
- Master the Art of Slime’s Big 3: Recipes, Ingredients, Consistency. The perfect recipes, the right ingredients, amazing consistency. Every time. (And once they get the hang of it – the kids don’t even need you!)
Plus (for this week only), you’ll get these bonuses:
- The Slimy Starter Pack – an extra 20 pages of essential slimy information to get the most out of all your slime making activities.
- Slimy Coloring Book – 25 unique pages of slimy designs to let your inner artist loose.
- 31 Days of Slimy Challenges to Try – Pull out this handy calendar and challenge everyone to make a new slime or new slime theme! Perfect boredom buster or screen free activity any time of the year.
That’s a $70 value for only $9.99!
Buy your copy of the Ultimate Slime Guide ebook here.
Do you subscribe to the Inspiration Laboratories newsletter. Each issue has exclusive hands-on science explorations for children, a recap of our latest activities, and special resources selected just for you!
Share this picture on Facebook:




Leave a Reply