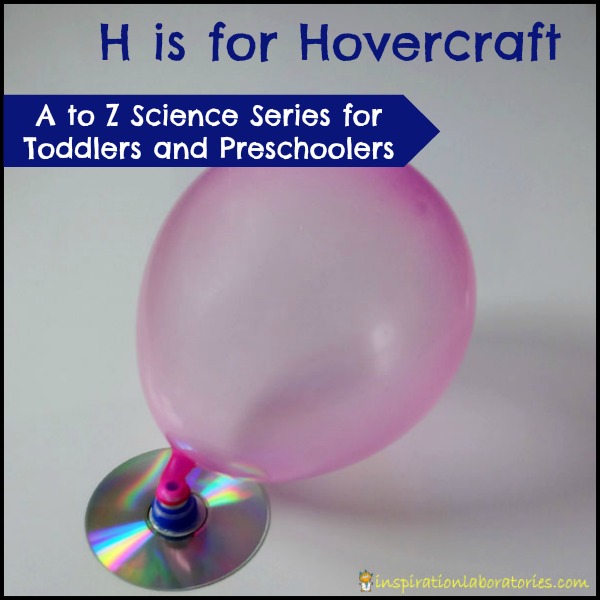
H is for Hovercraft
Next up in the A to Z Science series for toddlers and preschoolers here at Inspiration Laboratories is the letter H. H is for Hovercraft. Build a simple hovercraft for your children. Use the hovercraft to practice observation skills and measuring.
Build a Hovercraft
Materials:

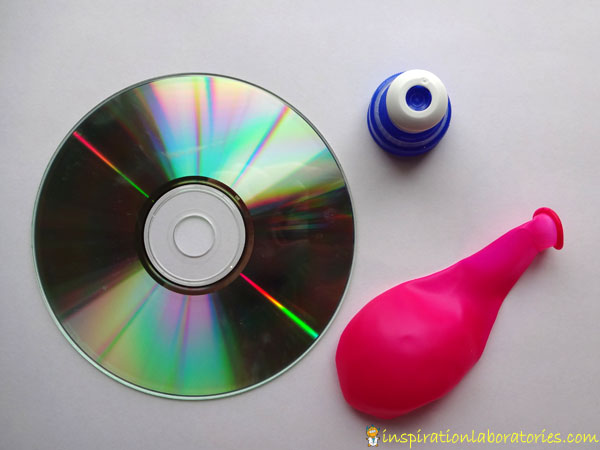
- CD or DVD
- Water bottle lid with a pop-up top {or similar pop-up lid}
- hot glue
- balloon
Putting together a hovercraft is actually quite simple. The hardest part for me was finding a pop-up lid. We don’t drink bottled water and none of my soap bottles had the correct lids. One of my friends does happen to drink bottled water with the correct lid, so I got one from her.
How to Assemble the Hovercraft:
Depending on the age and abilities of your child, these steps will most likely need to be done by an adult. Be extra careful when using hot glue {even the low temp glue guns}.
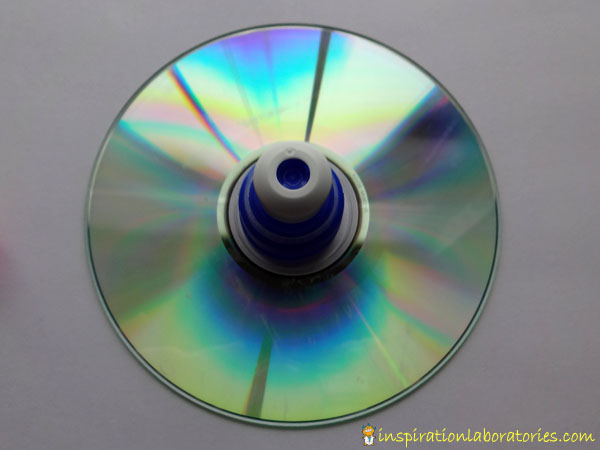
- Glue the pop-up lid onto the center of the CD/DVD. {We used an old CD that was no longer needed.}

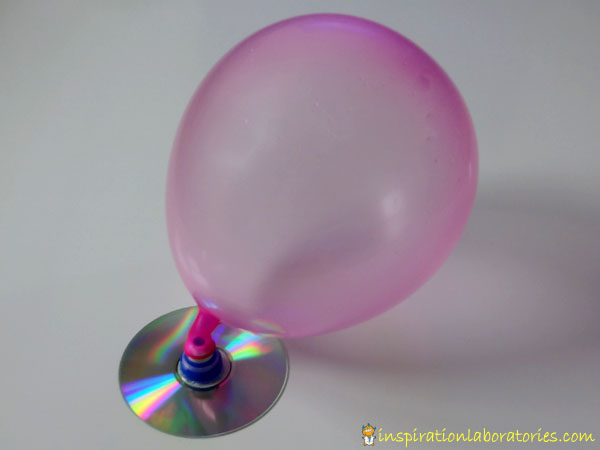
- Blow up a balloon and place it over the lid. Make sure the lid is closed.
- Place the hovercraft on a smooth surface.
- Carefully pull open the lid. When you let go, the hovercraft should move around.
Hovercraft Observations and Experiment
Once the hovercraft is built, your toddler or preschooler can experiment.
Find a smooth surface to run your tests. We used a our large whiteboard {that we use for pretend play and story scenes}. You could also use your kitchen floor, a table, etc.
Place the craft on the surface. Mark where you place it. Since we used our whiteboard, I drew a circle around the CD. You could also use small pieces of masking tape to mark the starting point.
Let the hovercraft run. Mark the end pointing. Show your child how to mark the same spot she did in the beginning. {For example, if she placed a piece of tape and the bottom middle edge of the CD to mark the starting point, then she needs to place a piece of tape in the same spot to mark the ending point.}
Measure the distance from the starting point to the ending point. How far did it travel?
Repeat this a few times and see if you get the same results each time. If not, why? What are you changing? The amount air in the balloon? The direction the balloon is facing?
Try different surfaces and see if you get different results.
Our Hovercraft
Here is our hovercraft in action. You’ll notice it doesn’t really go that far. We placed it on different surfaces and saw a change in the travel distance.
Special Notes
I realize this experiment requires a little more preparation from adults than most of the other ideas in the A to Z Science series. The focus this time is on observation skills and practicing measuring. My 3 year old absolutely loved watching the hovercraft. I was tired of blowing up balloons by the time we were done.
As you are making observations, talk to your child about what’s happening.
Do you see the air is leaving the balloon? Where do you think it is going? {Under the CD.} The air is lifting the CD up and pushing it along.
Don’t miss the rest of the A to Z Science series! Connect with Inspiration Laboratories on Twitter, Google+, Pinterest, or Facebook . You can also subscribe to posts by e-mail.
Linking up here.


Leave a Reply